
Affiliate Disclaimer: I hope you love the products and services I recommend - I truly believe in them. Just so you know, I may collect a tiny compensation from the links on this page at no added cost to you. Thank you if you use my links, I really appreciate it!
You want to set up a home voiceover studio but don’t have time to scour 20 different resources to figure out exactly what you’ll need.
I get it. When I first started out in VO in 2012, I had no clue where to begin. It all seemed far too daunting (and probably expensive).
Thankfully, you don’t need to be a trained audio engineer to understand how to put together a studio that can help you book high-paying voiceover work.
And it doesn’t have to be expensive either.
But you’re probably asking yourself…
What’s the bare minimum equipment and setup I need to do professional VO?
This complete beginner’s guide will go over exactly what you need for a basic, at-home, professional voiceover studio, including essential hardware/software, equipment, and some ideas for finding and setting up your specific recording space.
This is likely what you’ll need (at a minimum) to kick-start your career as a successful voice actor.
Key Takeaways
- A quiet, acoustically-treated recording space is absolutely essential for a pro recording setup.
- You need a decent computer (powerful enough to edit large audio files) and adequate internet speed (to download and upload large audio files).
- There’s no such thing as “the best voiceover microphone” but a high-quality, XLR condenser microphone (with a pop filter and mic stand) wired through a preamp/interface combo unit into your computer is a really good start.
- There are several good DAW’s (digital audio workstations) out there for editing your audio files; the key is to find the one at the right price point that has the capabilities you need.
- A solid pair of studio headphones will allow you to edit your audio accurately so you can send off high-quality audio files to your clients.
Home Voiceover Studio: The Beginner’s Guide to a Professional Setup
Don’t get too caught up in the details.
Most aspiring voice talent think to themselves…
“What equipment do you need for voice-over work from home?“
Although it’s possible to record surprisingly solid voiceover with just a computer and a USB microphone, it sounds much better (and will increase your chances of booking work) if you invest even further in your setup by following the essential equipment, software, and recording space list below.
You can always improve your recording studio over time, but focusing TOO much on your studio setup and equipment when you’re first getting started can really slow down your success.
If you simply focus on these basic studio essentials, you’ll have a good foundation for your voiceover career to build upon for years to come.
Let’s get into it.
Quiet, Acoustically-Treated Recording Space
The first thing you’ll need for your professional voiceover studio is a quiet space.
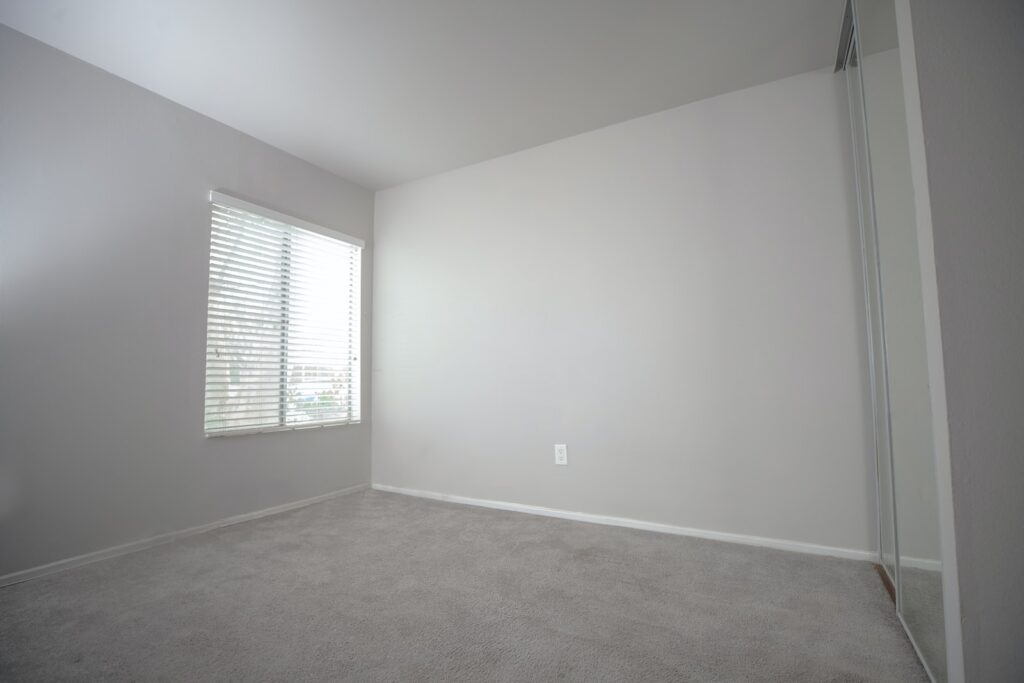
This isn’t necessarily a piece of “equipment” but it’s an absolute MUST if you’re going to have success in this industry.
It needs to be far from your loud appliances, heater, air-conditioning, etc.
A quiet space is especially important during high traffic times in your home, like when the kids are home from school or your wife is 1 floor above you bouncing around doing some combo of barre/pilates/yoga while playing loud music and talking to her mom on speaker phone.

Don’t ask why this example is so specific.
Some microphones are less sensitive than others to these kinds of sounds, but in general, professional voiceover microphones WILL pick up those pesky outside noises.
Unfortunately, blocking out all outside noises in a recording space is a very difficult (and often very expensive) undertaking.
That’s why it is KEY to find the quietest possible area of your home.
Regardless of which spot you choose or have available to you, you also need to acoustically treat it.
This is a good time to go over the basic differences between soundproofing and sound treatment (aka acoustic treatment).
Sound Proofing vs Sound Treatment
Soundproofing in voiceover refers to blocking as much outside noise as possible from entering your recording space and/or microphone (and blocking your VO recordings from leaking into the rest of your home).
Sound treatment in voiceover refers to treating the surfaces and space around your microphone to positively affect how your voice sounds going into the microphone.
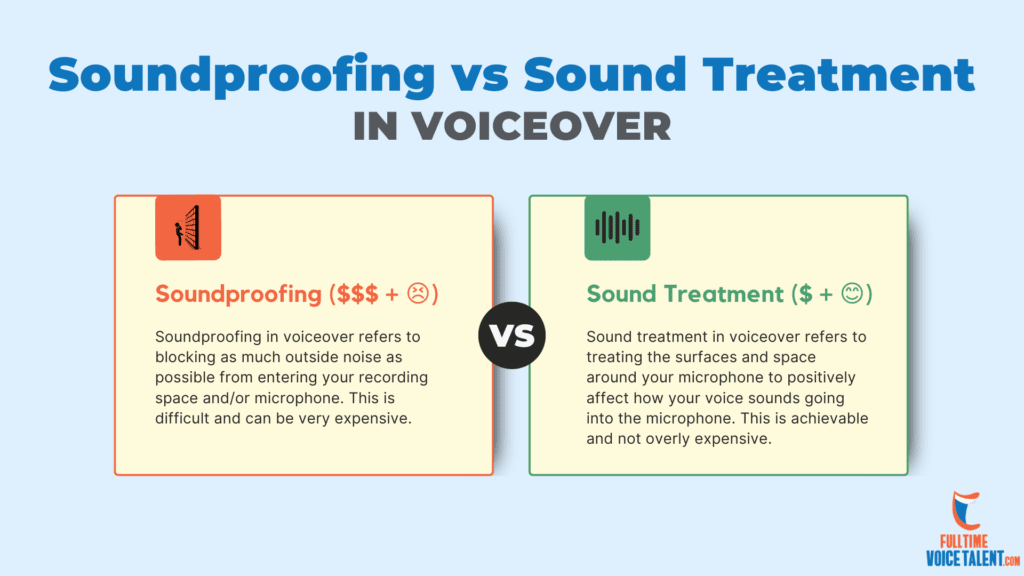
In (VERY) short…
Soundproofing (HARD and EXPENSIVE) is blocking sound.
Sound treatment (NOT AS HARD and NOT AS EXPENSIVE) is handling existing sound.
This is why you should focus on finding a quiet space to record in to avoid having to soundproof your space and then do what you can to reduce echo and sound reflections (sound treatment) from hard surfaces like your desk, floor, ceiling, walls, etc.
There are several recording space options out there that require different levels of sound treatment and soundproofing.
I’ll go over some here…
Recording Space Options
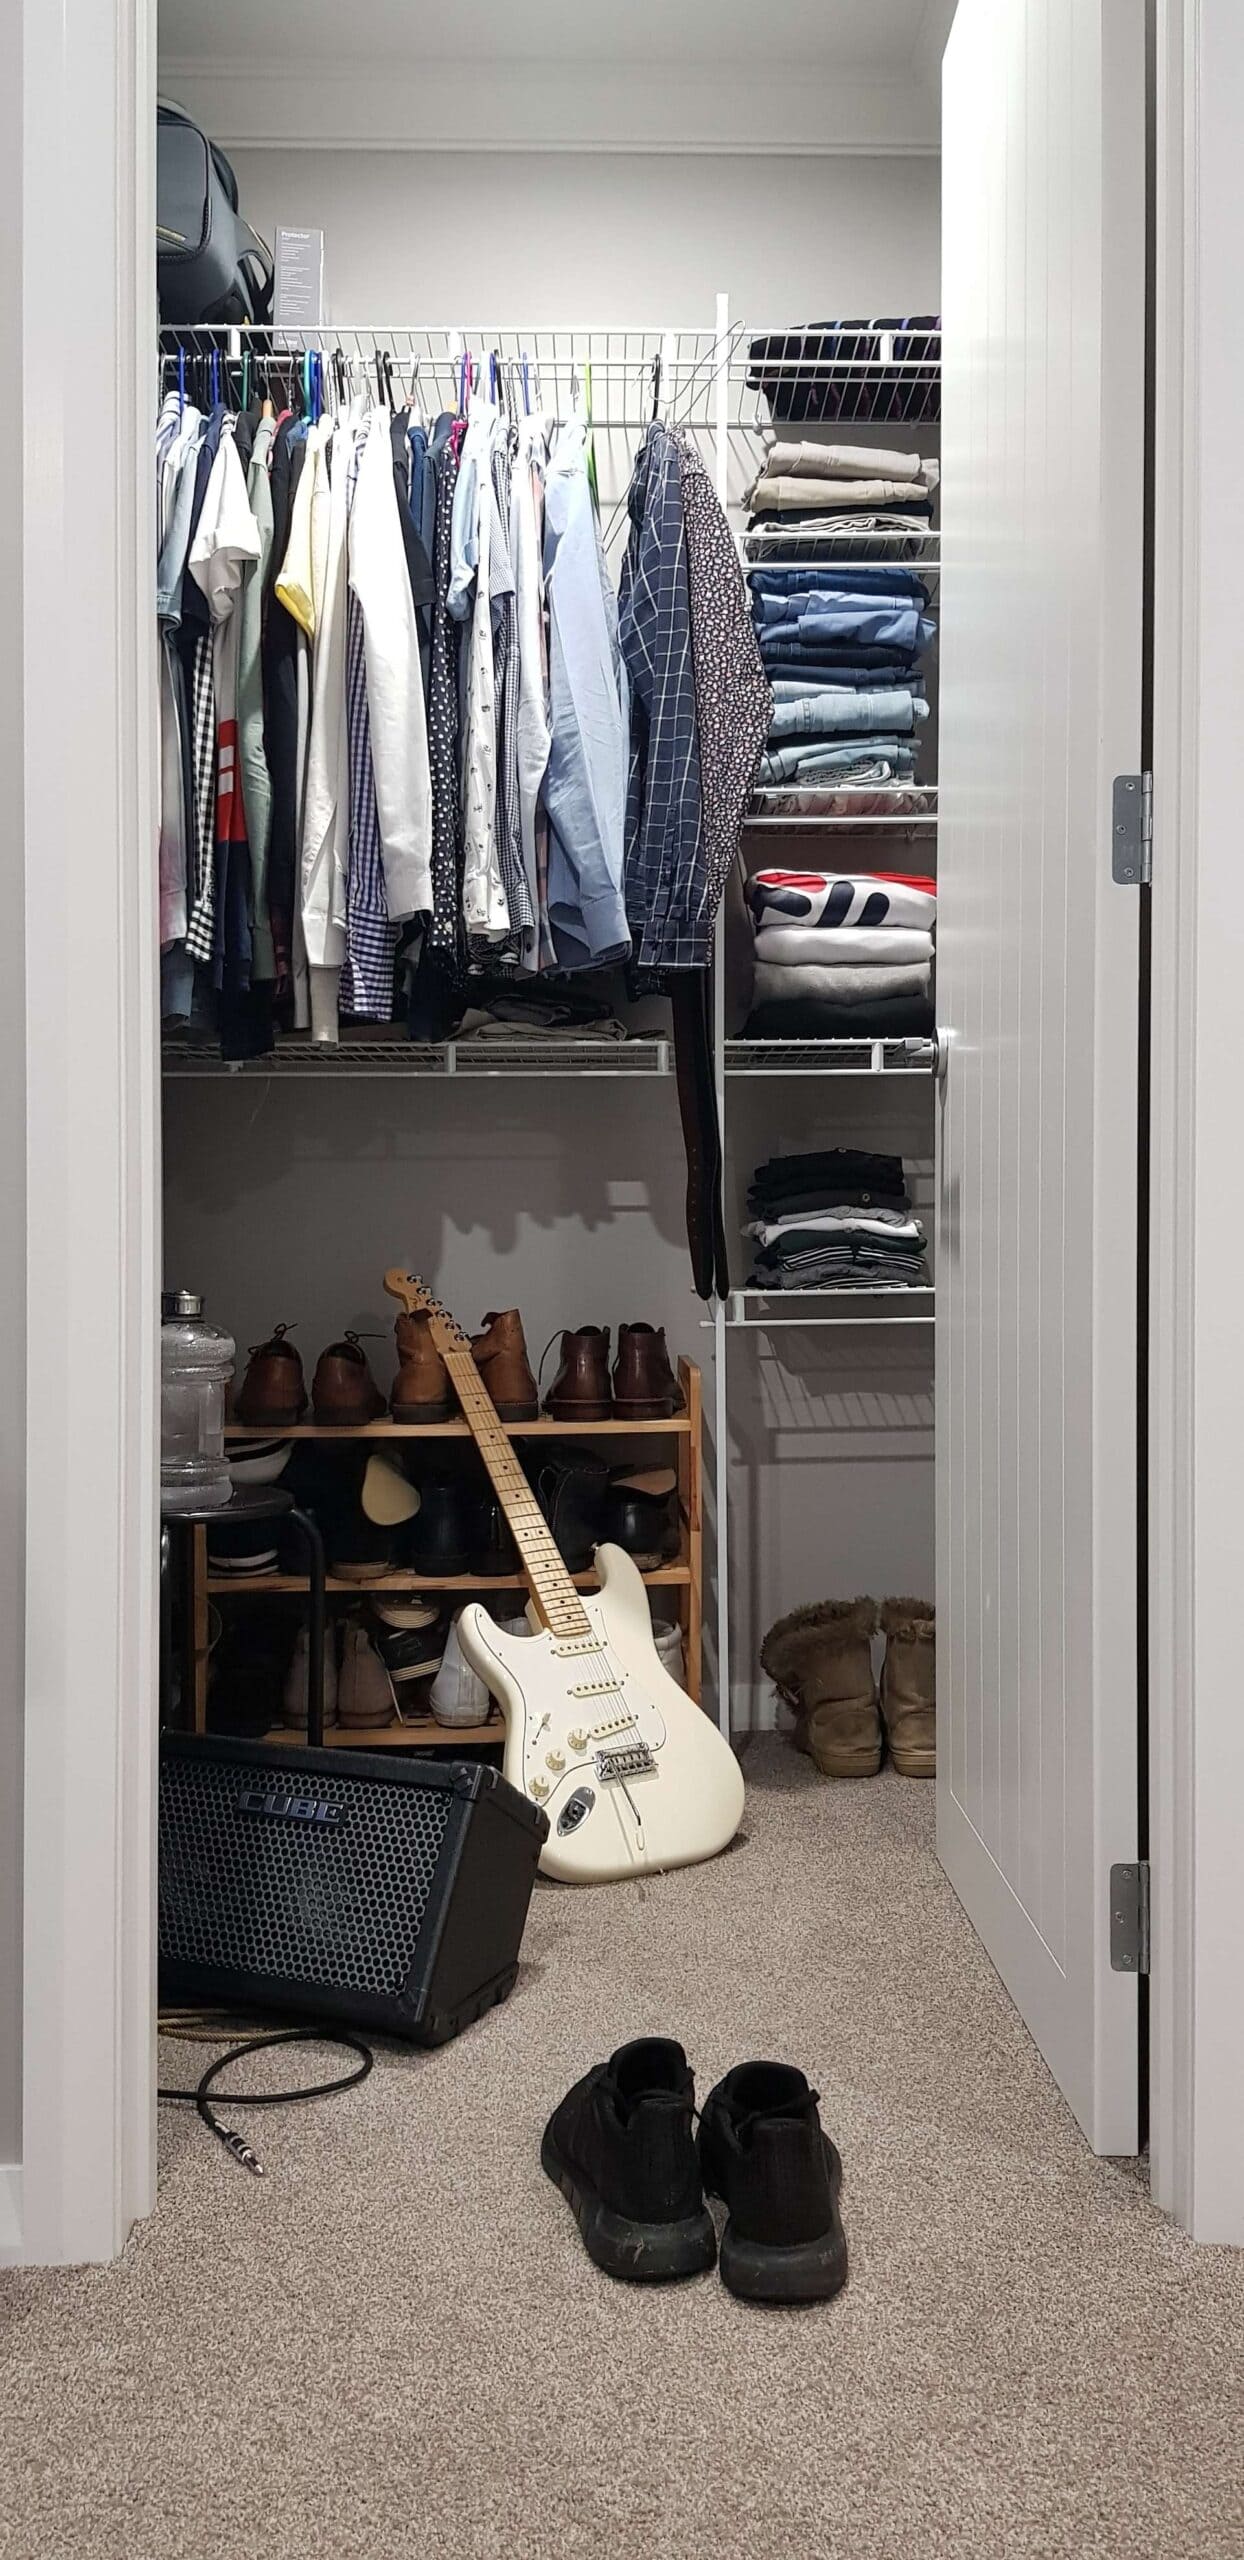
WALK-IN CLOSET
The best starting point for most people is a walk-in closet with all sorts of clothing (as much as you can fit) and thick carpeting (or thick rugs).
It’s likely away from loud stuff, it probably already has some sound treatment, and it’s cheap.
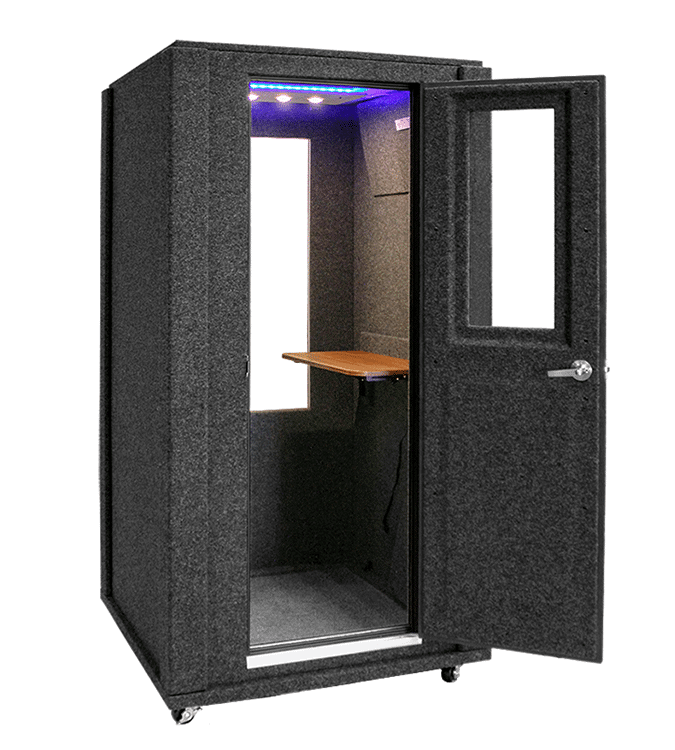
(PRE-BUILT) SOUND BOOTH ($$+)
You can also purchase a pre-built or pre-fabricated sound booth that you can put together in a quiet room inside your home.
Keep in mind that these booths are not 100% soundproof. But they can isolate you a little bit from outside noise, depending on how thick your walls/doors are.
Their biggest advantage is helping you make consistent recordings from one session to the next and to finely tune the acoustics of the booth.
Their biggest disadvantage is that they likely need a lot of acoustic treatment to make them not sound “boxy”.
They also take up a lot of room and are usually quite expensive ($2,000+).
If you’re going this route, I highly suggest keeping a close eye on used or pre-owned booths (Facebook Marketplace, Craigslist, etc.).
When I first started in voiceover, I found a WhisperRoom recording booth (similar option pictured below) selling for $500 (retails at $3,000+) on Craigslist. And I still use it to this day.
Pre-Built Sound Booth Options
WhisperRoom (what I use)
Tri-Booth (budget-friendly)
Scott’s VO Booths (semi budget-friendly)
PORTABLE SOUND BOOTH OR BOX
These are small, acoustic boxes that surround your microphone that you can take with you when traveling.
Here’s an example from Porta-Booth Pro:
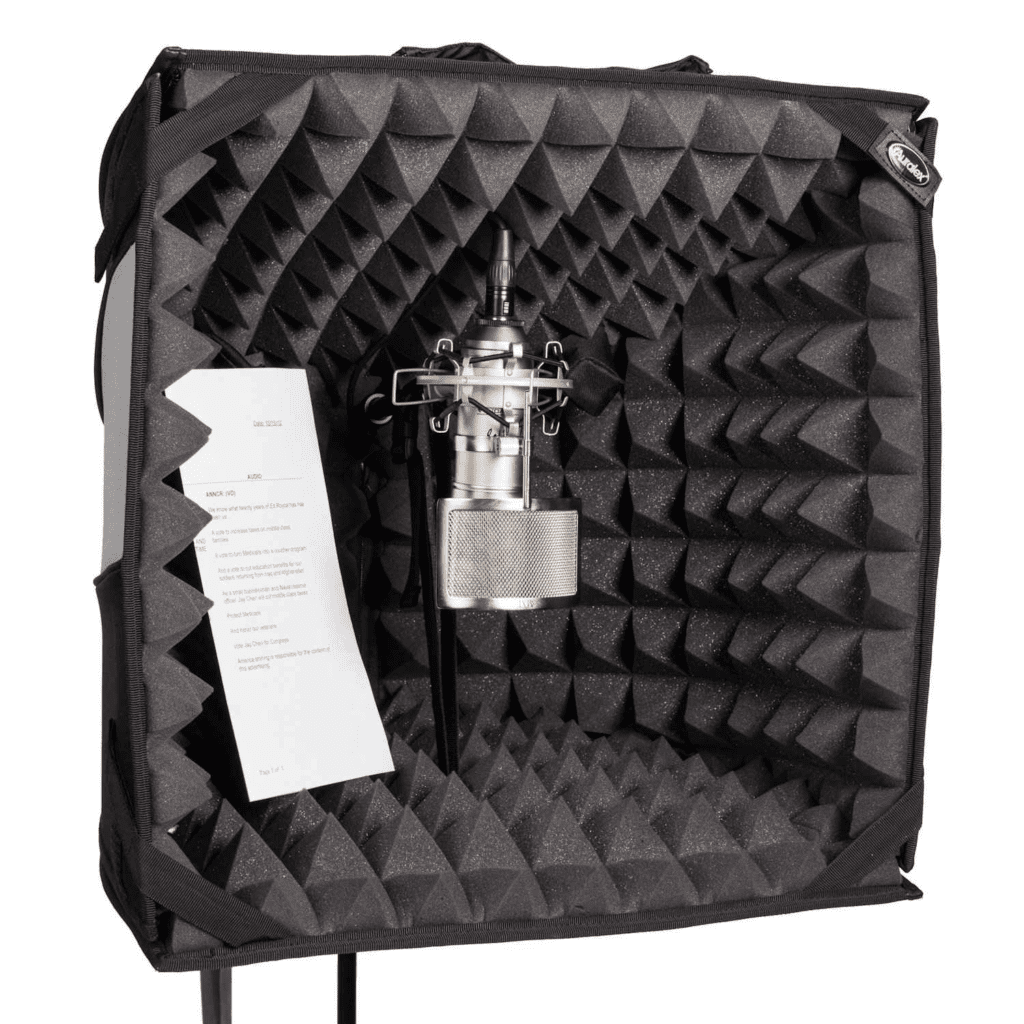
They can be helpful when recording in certain spaces, but in general, I would steer clear of them.
They don’t help as much as you may think.
If I were you, I would spend that money on treating the space around you (walls, floor, etc.) before investing in something like this.
CUSTOM-BUILT HOME STUDIO ROOM
An uncommon option is to renovate an existing room or to build an entirely new, open room(s) dedicated to being your home voiceover studio.
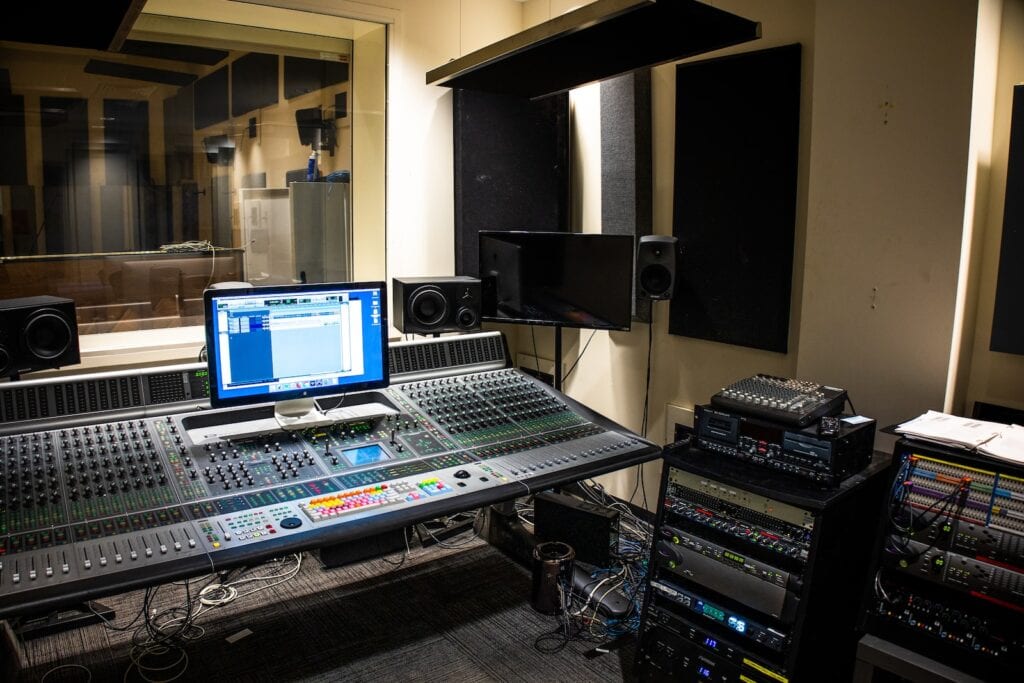
This option can be VERY expensive and should NOT be your first, second, or third choice unless you have some money lying around or, more importantly, you’ve established yourself as an in-demand pro voiceover talent.
This option is my long-term plan but I haven’t even pulled the trigger on it yet.
Sound Treatment Options
Like I said before, soundproofing is hard and expensive. Sound treatment (acoustic treatment) is not as hard or expensive.
The (very VERY) general rule of thumb for sound treatment is this: the more surface area you cover in thick, uneven, absorptive material, the better sounding your space will be. There is such a thing as “too much” acoustic treatment (or sound deadening), but from what I’ve heard in most “amateur” recordings, the majority of people go the other way and do not have nearly enough acoustic treatment in their recording space.
Below, you’ll find some DIY options for treating your space.
DIY ACOUSTIC PANELS
DIY acoustic panels can be a game-changer in your recording space because they actually work to remove a lot of those pesky reflections and echoes, and unlike a lot of other “acoustic” stuff online, these ACTUALLY WORK.
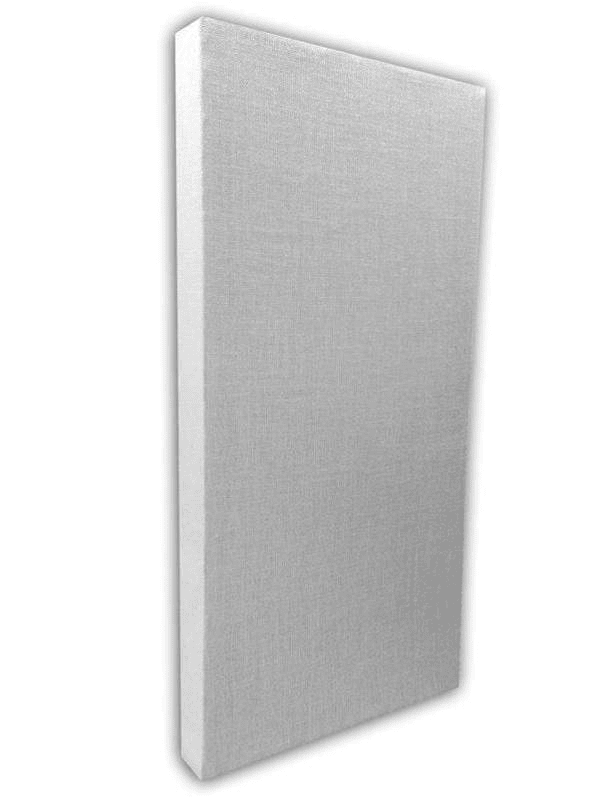
Here’s a colleague of mine (Tim Tippets) going over how you can build your own panels for as little as $25 per panel when all is said and done:
THICK (INEXPENSIVE) EVERDAY MATERIALS AND ITEMS
Some of these options may work well to supplement what you already have. The best option I’ve found at this price point is a bundle of heavy-duty moving blankets.
Heavy Duty Moving Blanket (Cost Effective)
The thicker, the better here. These can work really well in a pinch. In fact, I currently cover the Rockwool acoustic insulation with this on the inside of my Whisper Room recording booth.
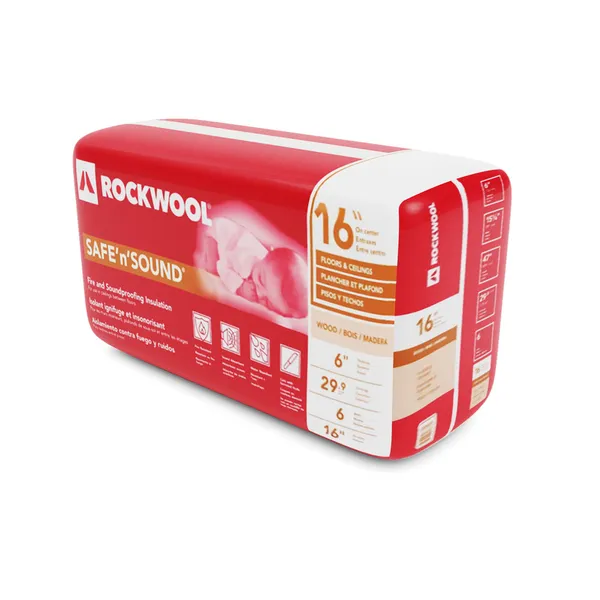
Rockwool Insulation
This insulation is a little bit more difficult to apply to your specific situation. But it really does an awesome job at deadening an area. Like I said above, I used it to line the inside of my Whisper Room booth. Many people use it within DIY acoustic panels, too.
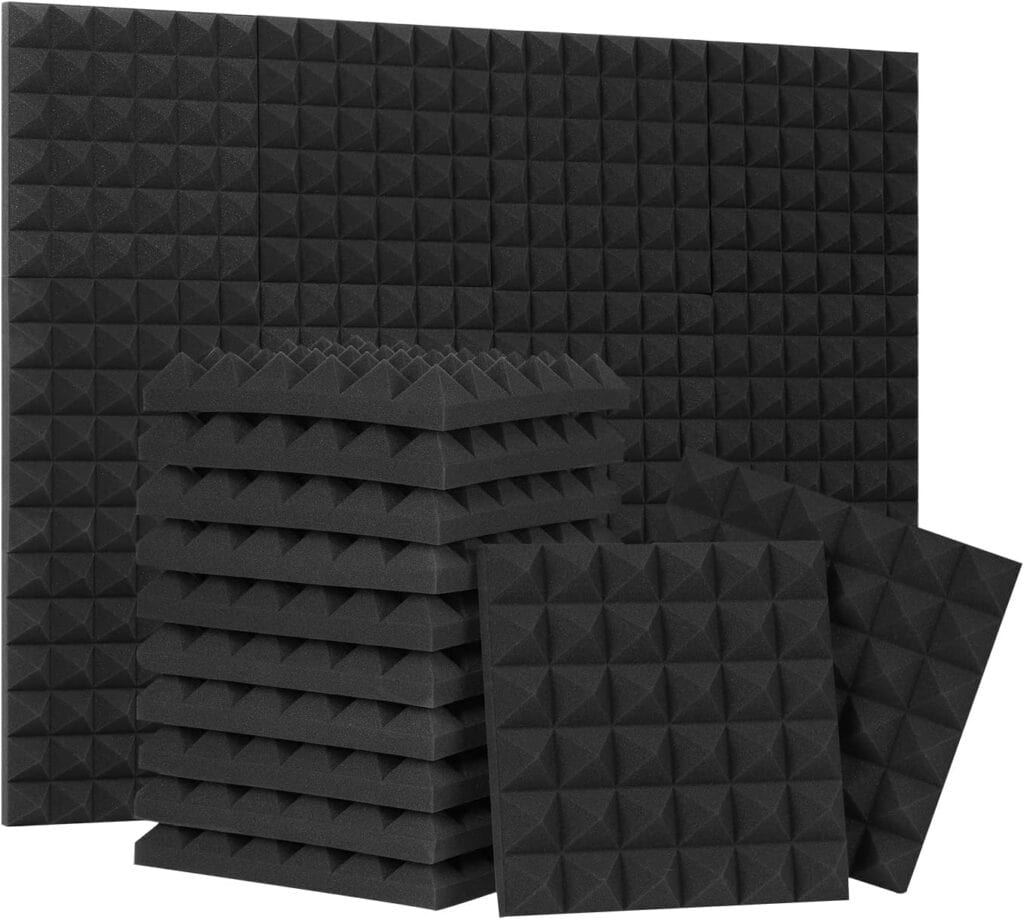
Acoustic Foam
These can help some but as more of a finishing touch than an effective first treatment option. I was hesitant to list these just because they really aren’t as effective as they may look.
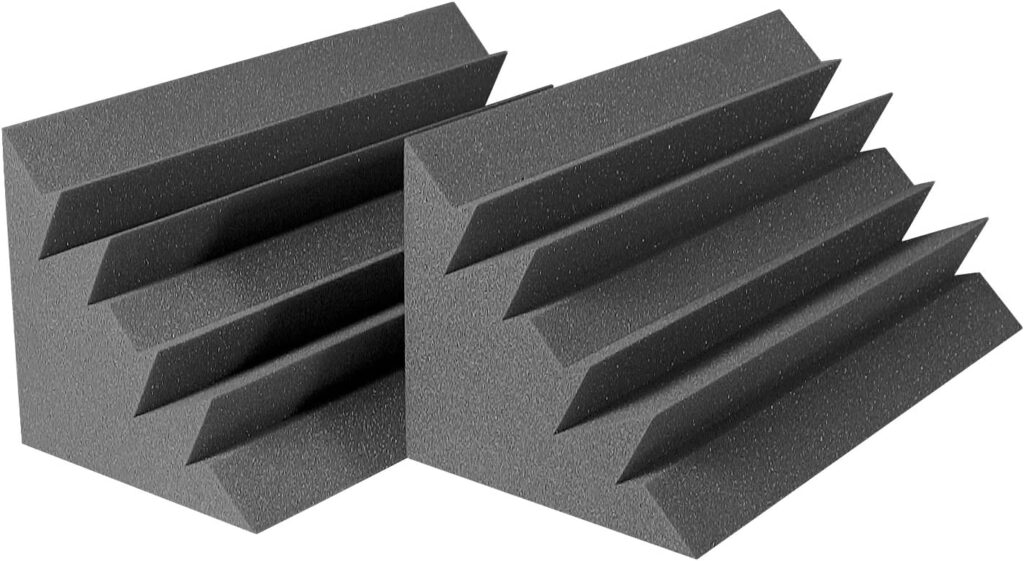
Bass Traps
These can really help for eliminating that “boxy” sound you find in small booths. I use these in my Whisper Room. Much more effective than regular acoustic foam to eliminate small booth reflections.
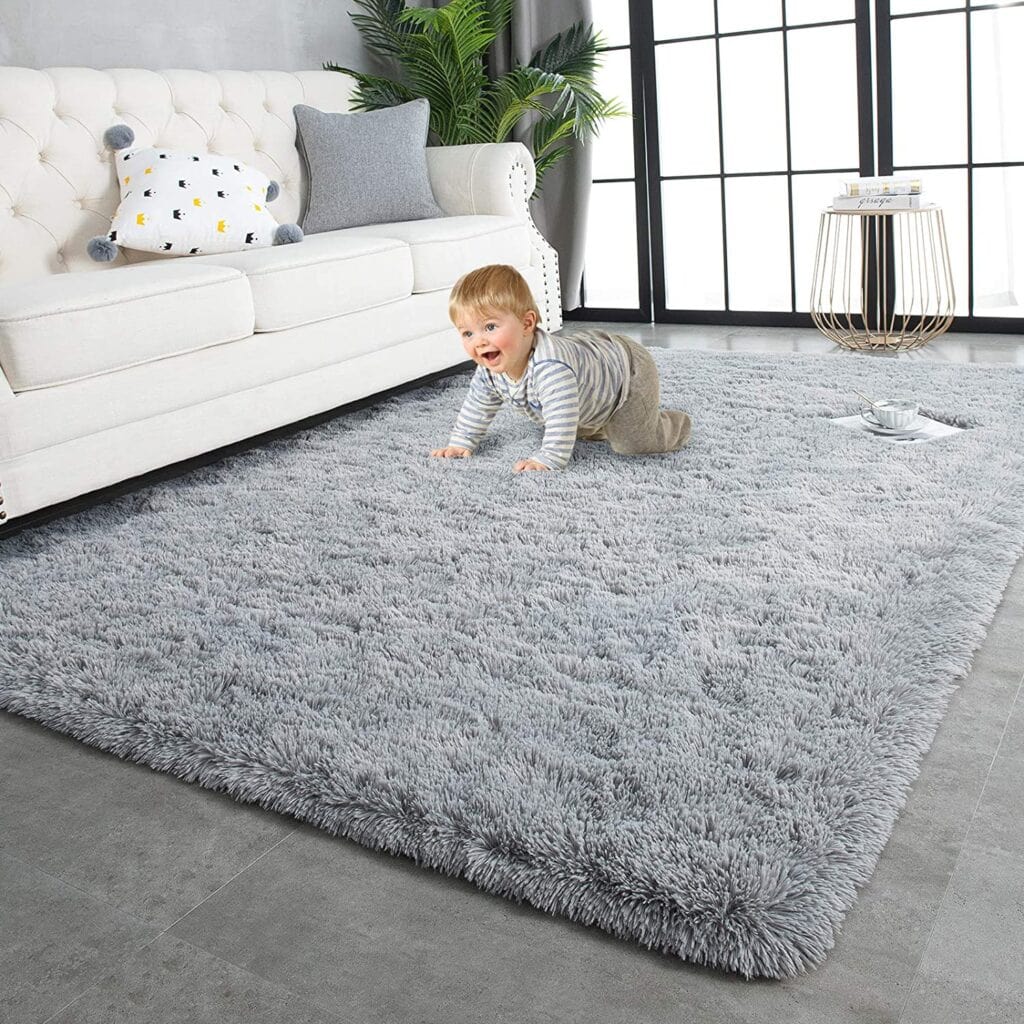
Thick Area Rug
These work especially well if you have hard floors (wood, laminate, concrete, etc.).
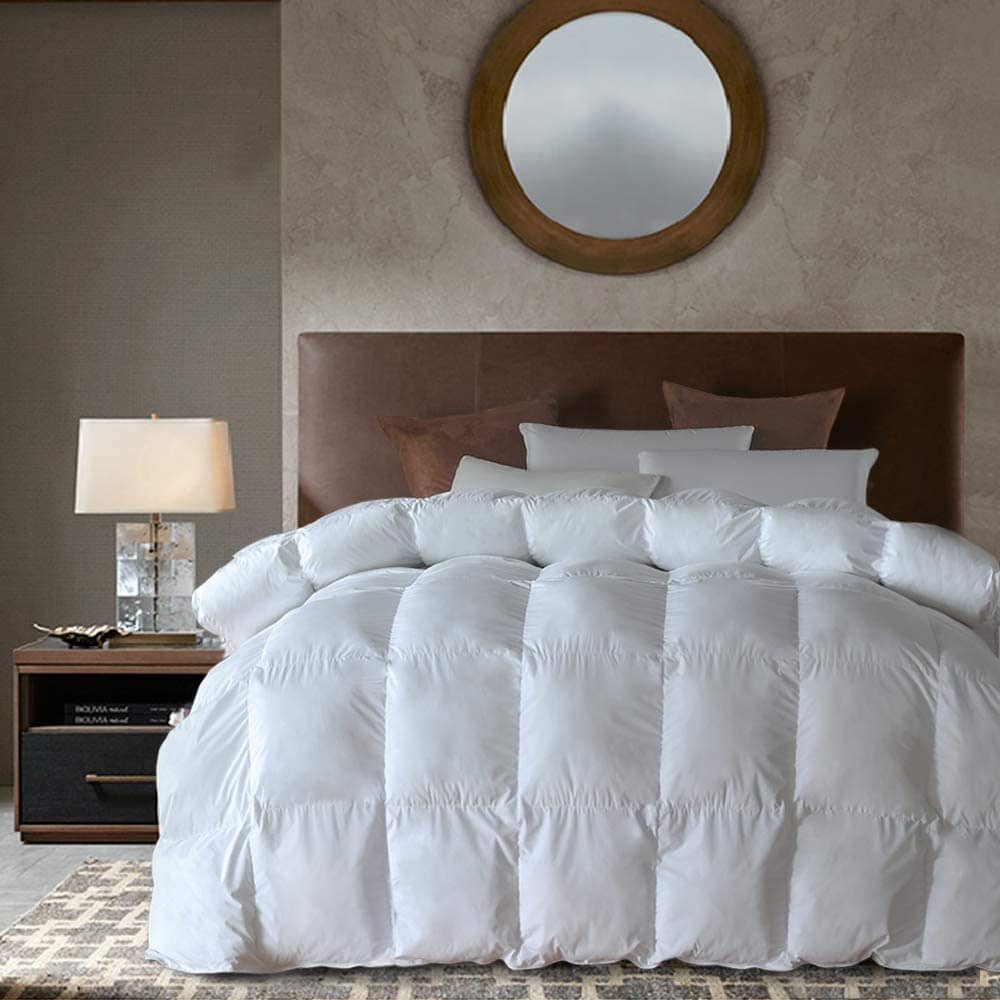
Thick Duvet
I’ve used similar duvets to line the bottom edges of my Whisper Room to help mitigate that “boxy” sound.
Thick Fleece Blanket
Get the idea? The denser, the better.
Computer + Decent Internet
While you don’t need a top-of-the-line computer to handle basic audio editing, you definitely need something with decent power (especially memory and storage) to efficiently and effectively edit and send off audio files to your clients.
Computer Power
If you’re recording narration and are using any sort of plugins or filters on your recording software, it can be quite taxing on your computer which is why you need something with a bit of oomph to handle it.
This isn’t video rendering/editing which is notoriously difficult for computers to handle, but it’s only one or two steps below that.
Currently, I use a custom-built PC (proudly built by me, thank you very much!) for most of my recordings and a Mac Mini in my booth for remote sessions.
Here are a couple of computers that would work just fine:
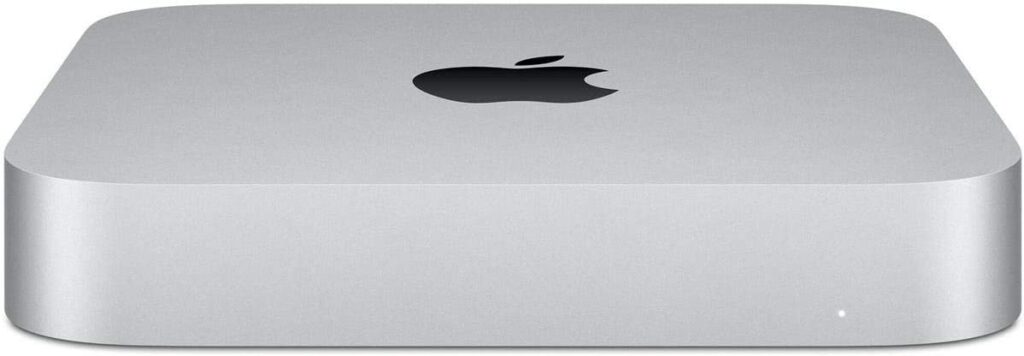
Mac Mini
I used a 2012 Mac Mini as my main audio editing computer for over 8 years and it worked like a champ. And it’s SO QUIET.
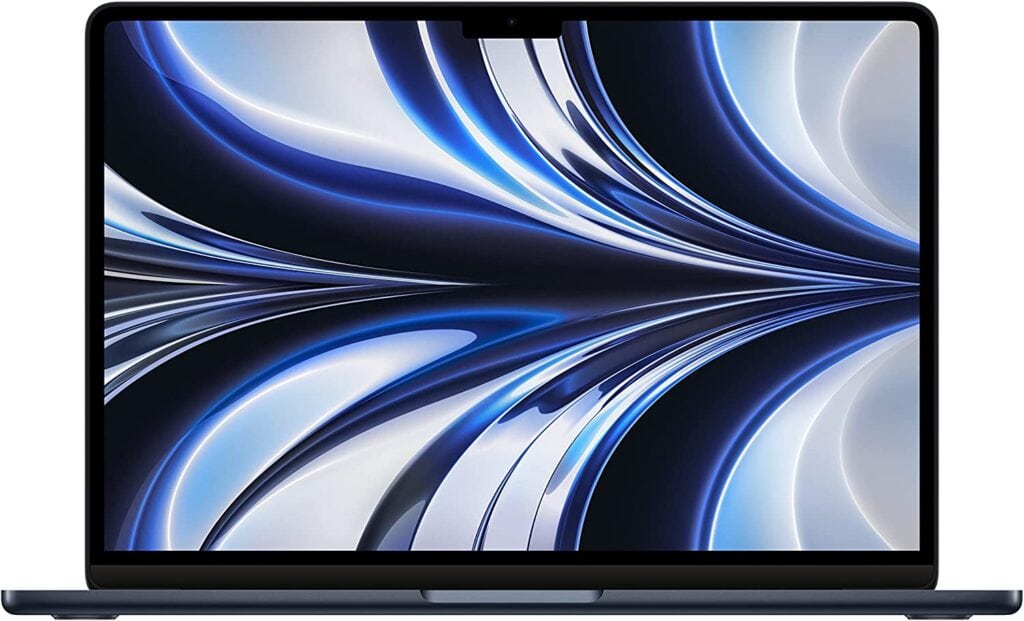
Apple MacBook Air
Apple products are known for being excellent audio production machines. They’re also mostly very quiet which is a big plus. But they can get pricey.
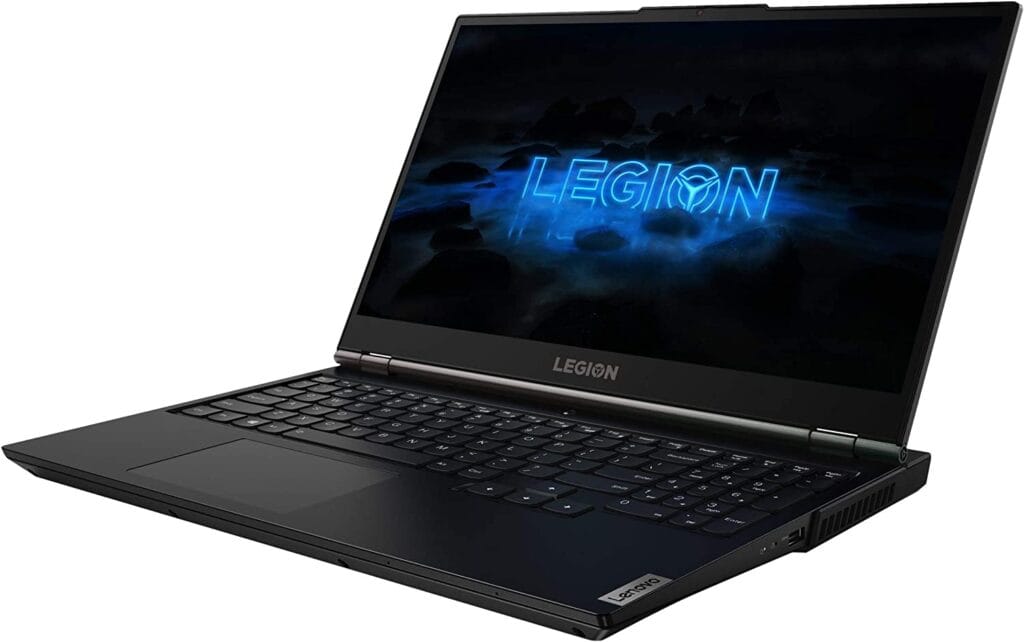
Lenovo Legion 5
Lenovo makes really strong PC’s. This is technically a gaming PC, but it has really strong specs for multitasking and churning out big VO projects.
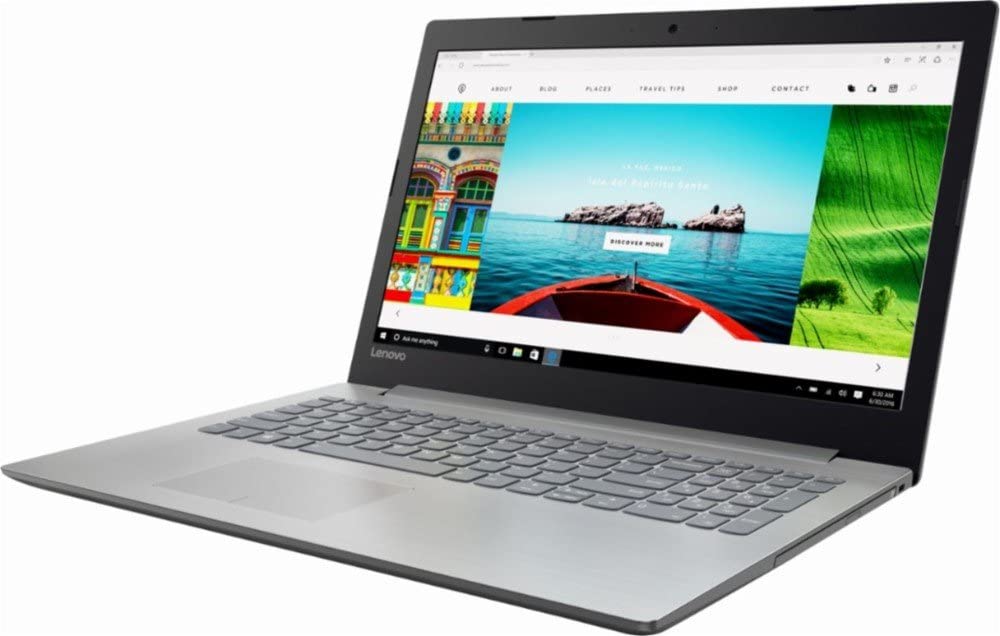
Lenovo 320 IdeaPad
Continuing with Lenovo, this is somewhat of a budget option. While it may be slower than the other options above, it can still be a solid option for you.
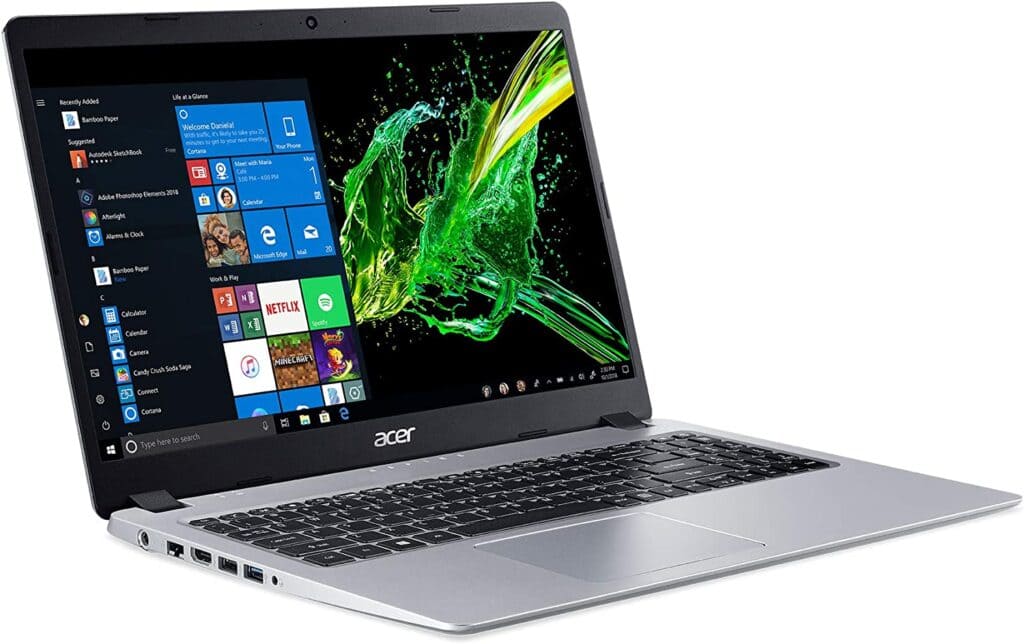
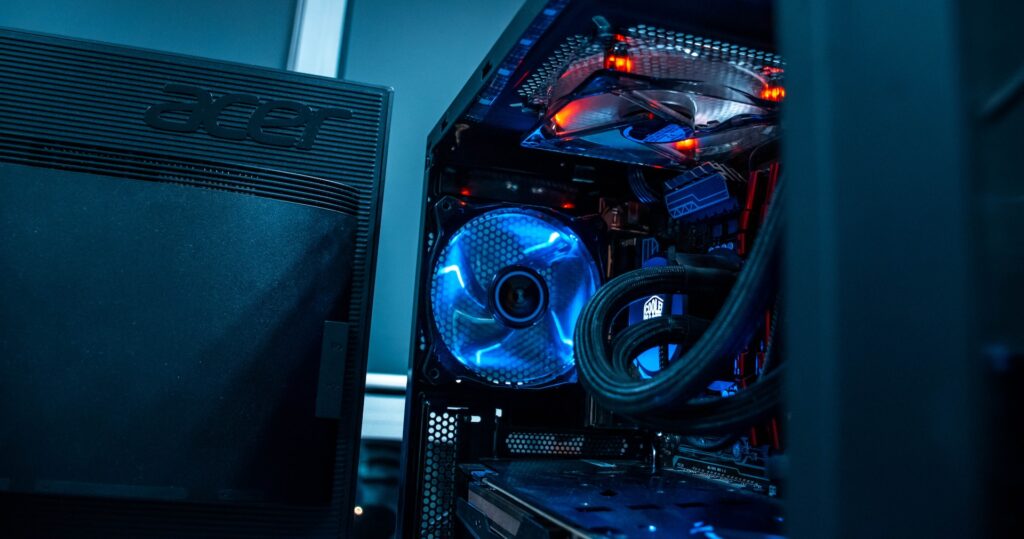
Acer Aspire 5
Acer also makes really strong PC’s. This is even more of a budget option. I’d probably buy something a bit stronger than this, but this could work for you as you get started in VO.
Storage Space
I also really want to emphasize the importance of storage space, whether it’s internal or external (external hard drive option listed below) on your computer.
Uncompressed audio files (WAV/AIFF/etc.) are HUGE compared to small mp3’s and can take up a ton of storage space.
We’ll talk more about WAV/AIFF files in the future, but just know that these big files are the file types most good clients will want from you.
And even if they don’t, you’ll likely want to keep that file type for your records in case you need to do some more editing to it in the future for pickups or other issues with clients.
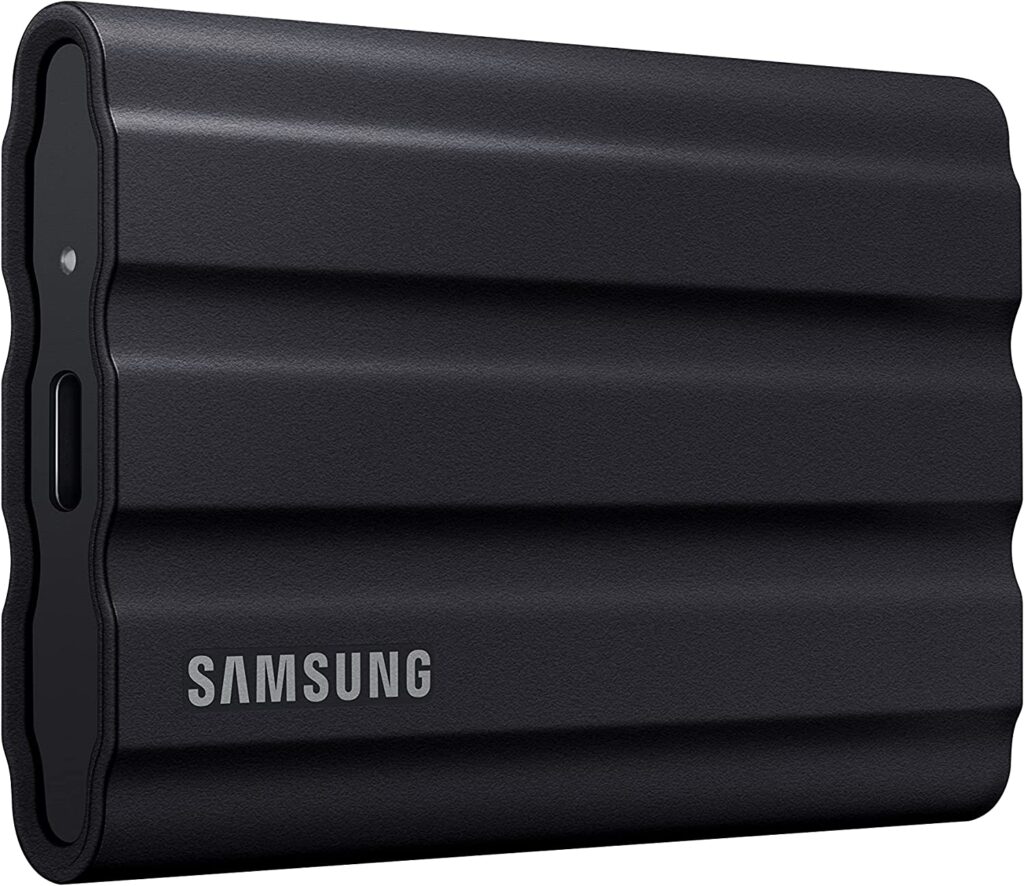
External Hard Drive
SSD external hard drives vary in speed and storage space. This one would work great.
Internet Speed (Upload and Download)
And you need to SEND these files somehow which is why decent internet (especially upload speed) is a must.
You don’t want to spend an hour recording and editing audio only to have to wait hours and hours while your file uploads for your client.
Speed and efficiency are KEY to a successful career in voice-over, so having a strong computer and decent internet can go a LONG way toward helping you make that happen.
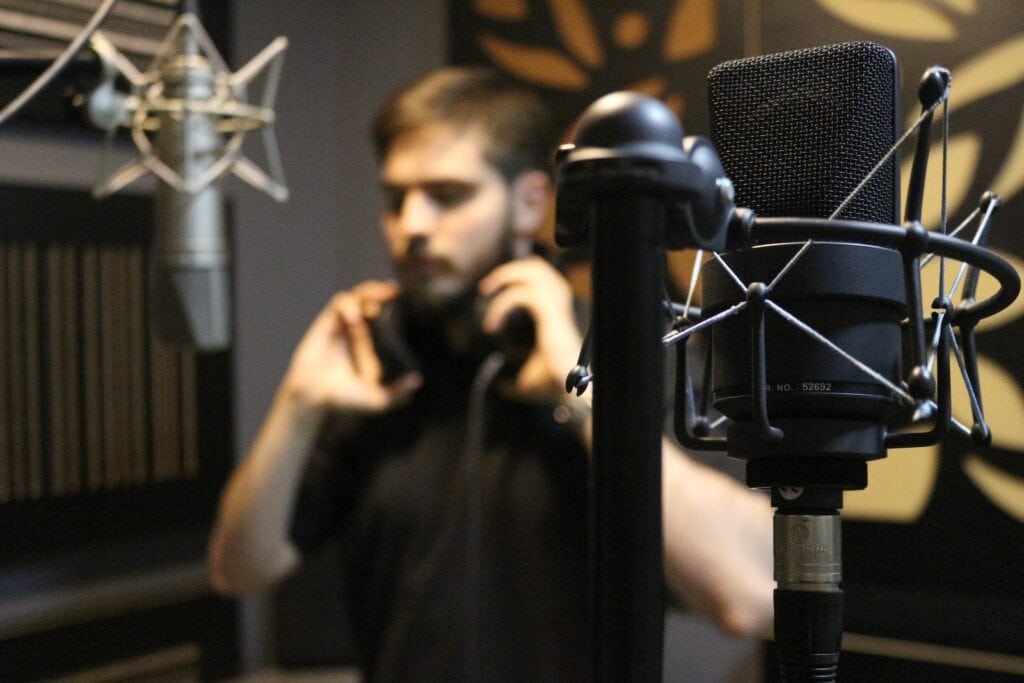
Microphone (XLR preferred) + Mic Stand + Pop Filter
There are a number of factors that can affect the quality of your audio in your home voiceover recording studio. One of the most important is your microphone.
What’s the best microphone for voice over?
Simply put: there’s no “best microphone” in voice over.
Some options are definitely better than others, but the answer to this question truly depends on your voice and recording environment. And at an even higher level, it depends on what kind of voice over work you are recording.
In general, a high-quality condenser microphone with an XLR connection (in a quiet, acoustically treated recording space) will likely give you the best sound quality possible in VO recordings.
Condenser vs Dynamic Microphone
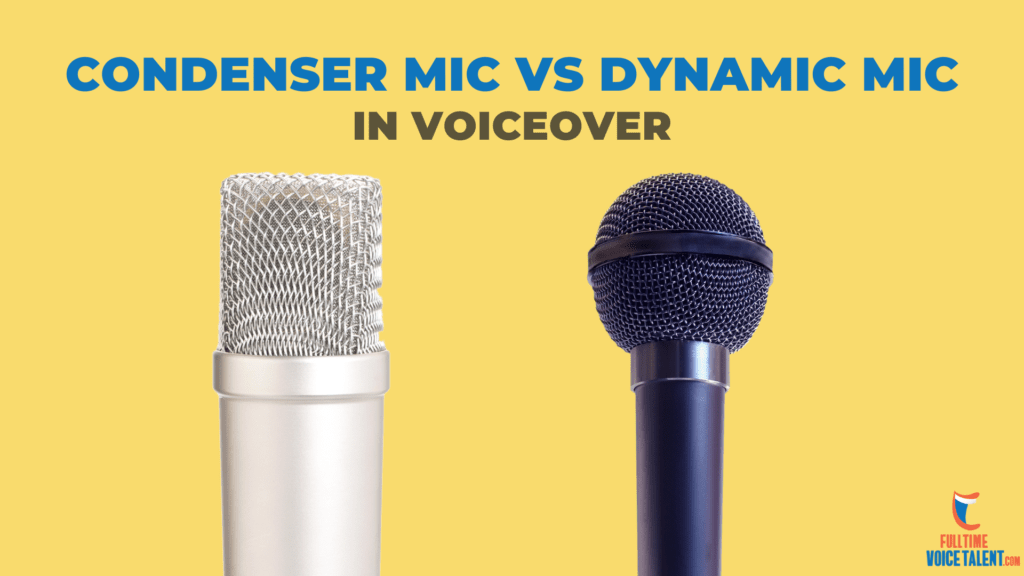
At a broad level, the terms “condenser” and “dynamic” basically refer to the different ways these microphones are built.
Both types of microphones have their pros and cons, but in general, condenser microphones are much more suitable to all genres of professional voiceover because of their clarity and accuracy in capturing the human voice. However, they require additional power to work (aka phantom power).
Dynamic mics are often more durable than condenser microphones and don’t require additional power (phantom power) to work. You often see dynamic microphones on stage during live performances.
USB Mic vs XLR Mic
In general, XLR mics sound better, are more expensive, and require more pieces of equipment to work compared to USB mics.
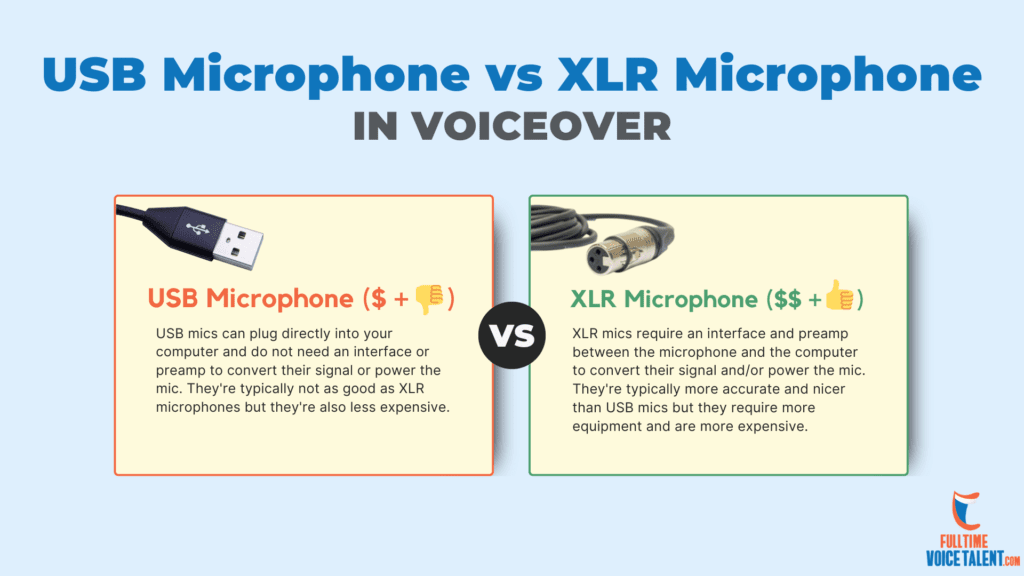
USB microphones have an internal analog to digital converter which means they do not need anything between the computer and the microphone to power them (unlike XLR microphones).
The frequency response range of an XLR condenser microphone is much broader than that of most USB condenser microphones.
Sorry, confusing.
This means that your voice will likely sound clearer and more “lifelike” when recorded with an XLR condenser mic versus other types of mics.
You can find good XLR microphones on Amazon and other places at prices ranging from $100 to $500+.
Admittedly, USB microphones have improved quite a bit over the years, so there are a few options that may work in the short-term
But if you’re serious about recording professional voice-over in your home studio, investing in an XLR condenser microphone will be worth every penny.
Best Voiceover Microphones (My Recommendations)
My mic recommendations are always changing, but if I had to compile a good starting list, here are the XLR condenser microphones I’d suggest (including the current price and a USB option if you must):
(Oh and you’ll likely need to buy an XLR cable. This one would work just fine.)

RODE NT1 ($282.22)
I suggest going straight to the NT1 over the NT1A because I’ve heard the NT1A can have issues. Full Disclosure: I actually used an NT1A for the first several years of my career and it worked great.
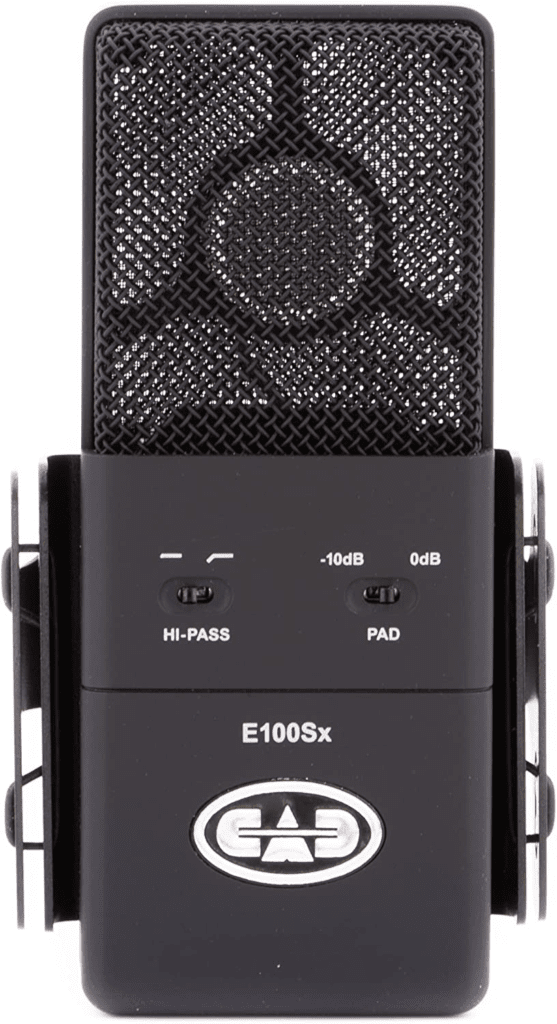
**CAD E100SX ($299.99)
I currently use its predecessor, the E100S, and I love it. The E100SX is apparently even better.
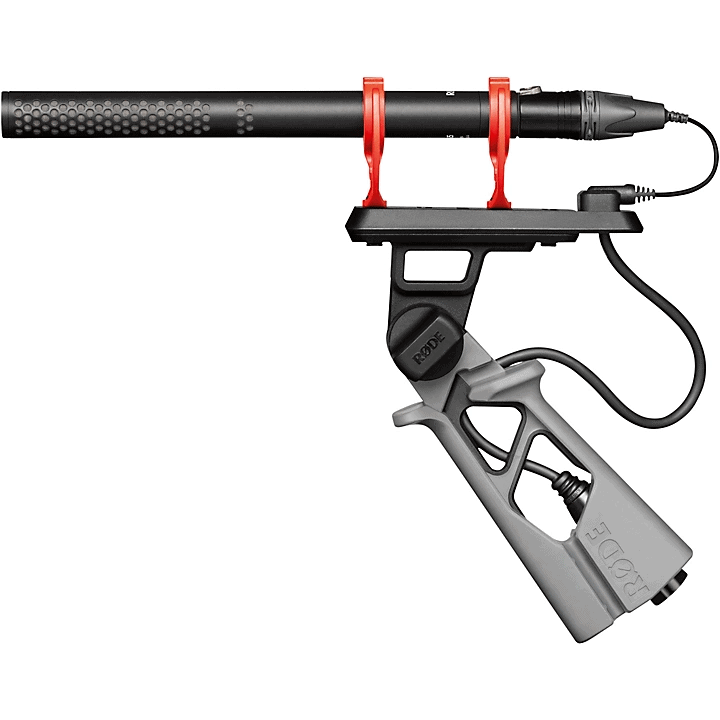
RODE NTG5 ($499)
This is a very adequate shotgun mic alternative to the more expensive MKH 416.
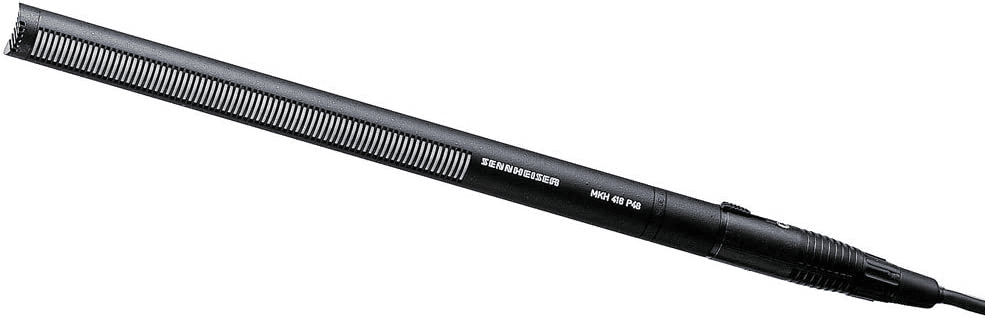
SENNHEISER MKH 416 ($999, INDUSTRY-STANDARD MICROPHONE)
This is the industry standard shotgun microphone used in studios across the country.
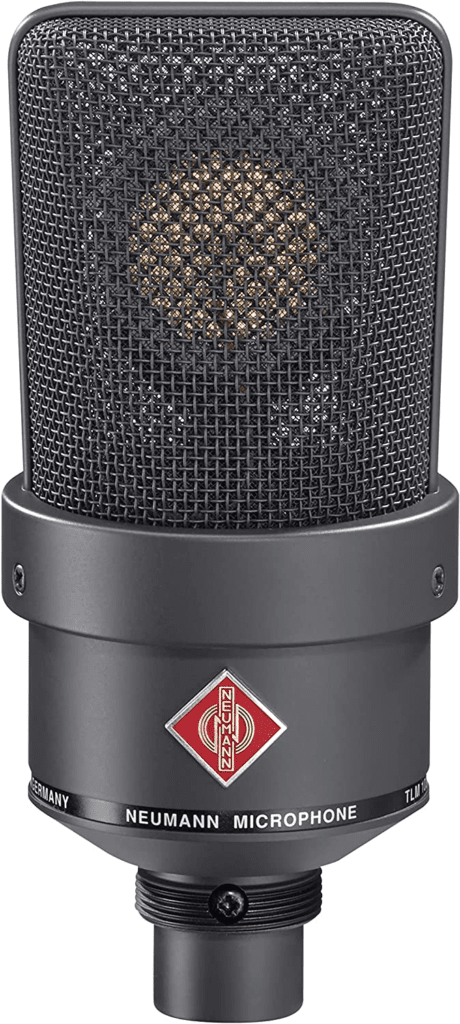
NEUMANN TLM 103 ($1,195.00, INDUSTRY-STANDARD MICROPHONE)
This is one of the industry standard microphones used in voiceover studios across the country.
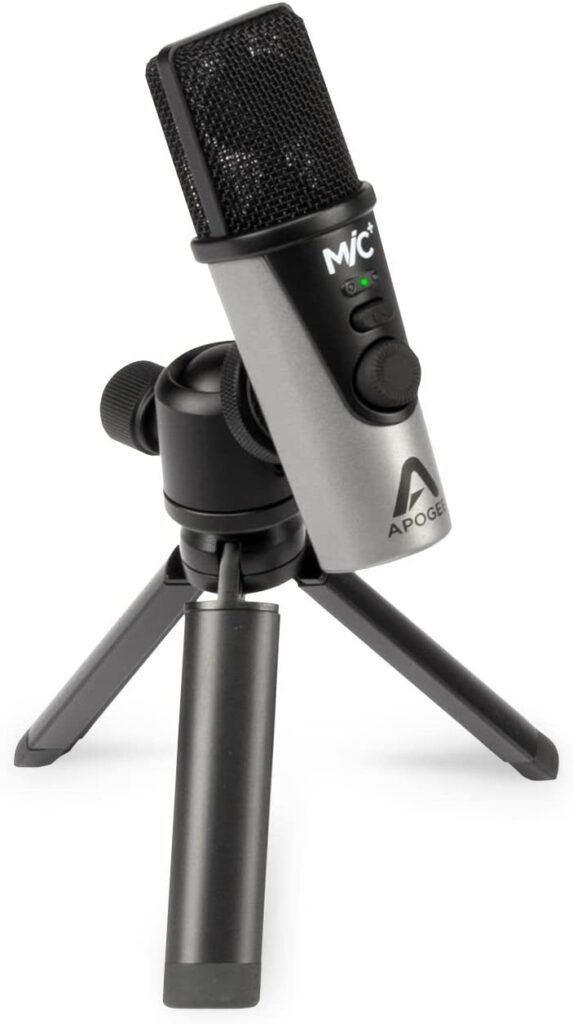
APOGEE MIC PLUS
If you INSIST on getting a USB mic, this Apogee mic is quite good (for a USB mic). It is also a really handy travel mic for auditions.
Microphone Stand
You think your microphone just magically floats there in front of your face? NO, silly!
Unless you’re Luke Skywalker, you need a microphone stand to hold up your mic in your home voiceover studio and to keep it perfectly still.
There are several different kinds of microphone stands…
…from a boom arm attached to your desk…
…to a mic stand that sits on top of your desk…
…to an adjustable floor microphone stand (which is what I use).
Wherever you situate your recording space is where your stand needs to be.
Just remember that it should be far away from your computer and other external noises if possible.
Here are a couple of microphone stands that would work just fine:

Amazon Basics Tripod Boom Microphone Stand
This is a simple tripod-style microphone stand. Make sure you have enough floor space for a tripod-style stand.
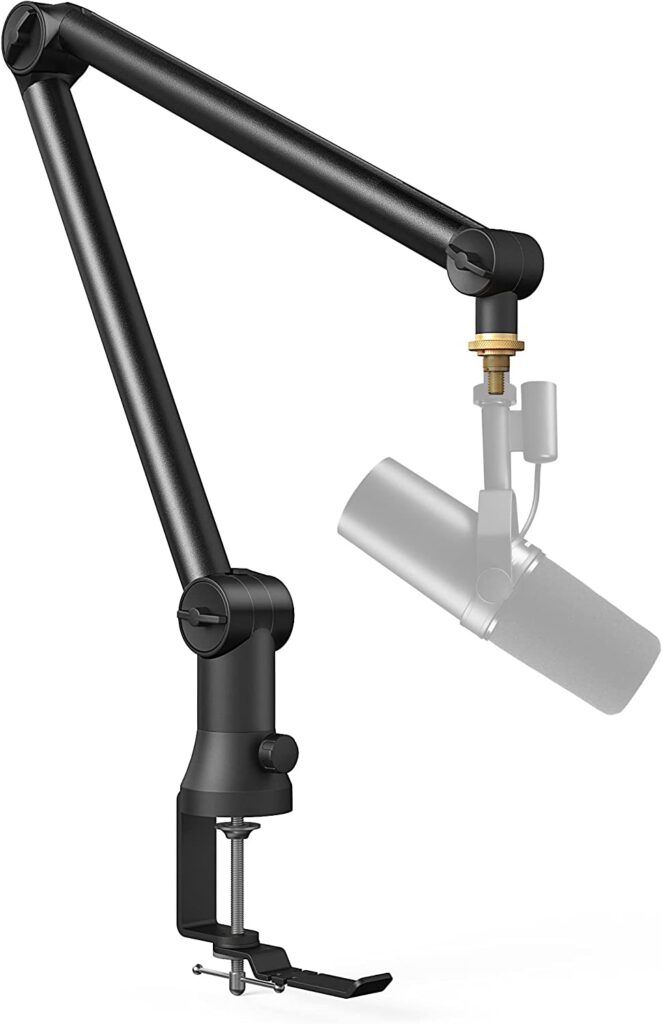
Mic Arm Desk Mount
This attaches to your desk. I don’t really recommend recording at your desk but sometimes, that’s your only option.
Pop Filter
You also should strongly consider a pop filter.
Condenser microphones are extremely sensitive, especially to small bursts of wind, which is exactly what your mouth creates when you say your p’s, t’s, b’s, etc.
Say “poop”. Hear what I mean? 😉
It sounds like a big pop on the recording. If you don’t know what I’m talking about, it’s a very ugly and obvious sound that you’ll want to avoid at all costs.
Pop filters, when used correctly, can help to get rid of those pesky wind explosions.
Some microphones come with a pop filter, but typically, you need to buy one separately. Some are better than others (metal/mesh > fabric, in my opinion), but in general, they’re not very expensive.
Here are some pop filters you could buy:
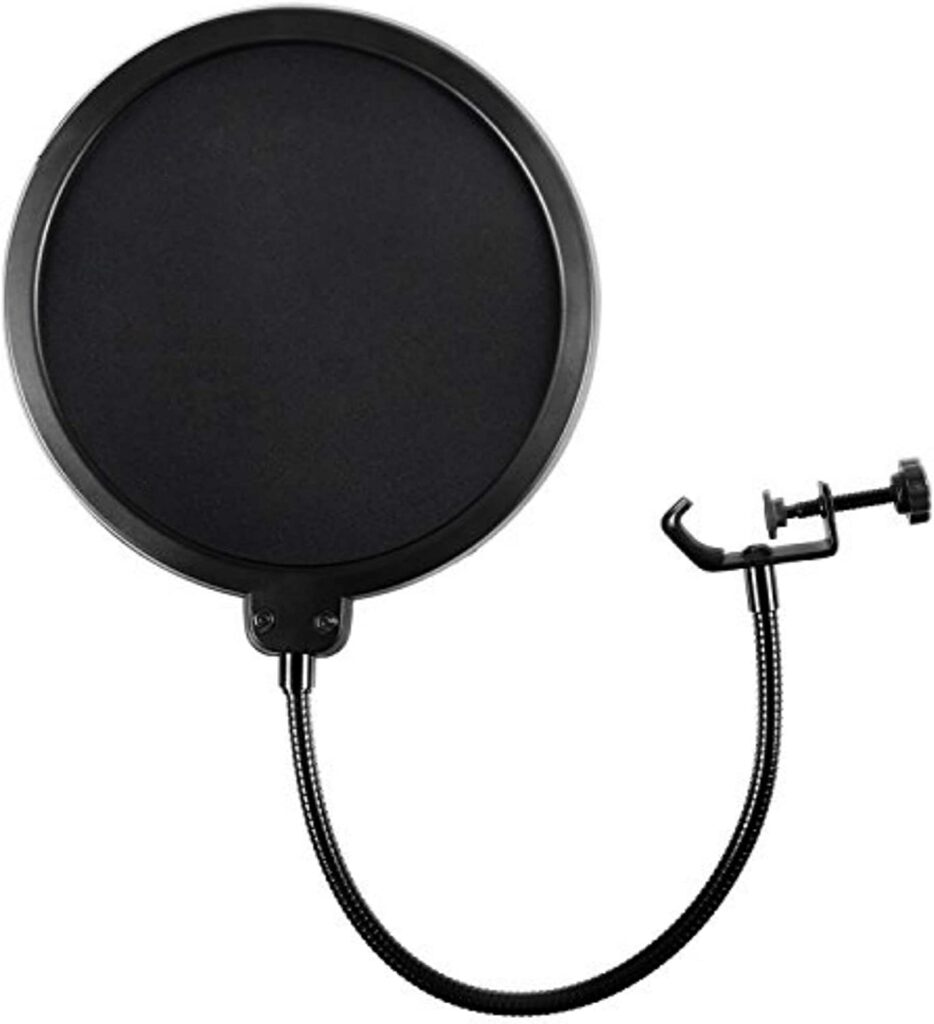
Mesh Fabric Pop Filter
This is the type of pop filter I used for years. It works okay, but mic positioning will be much more effective at getting rid of those plosives than something like this.
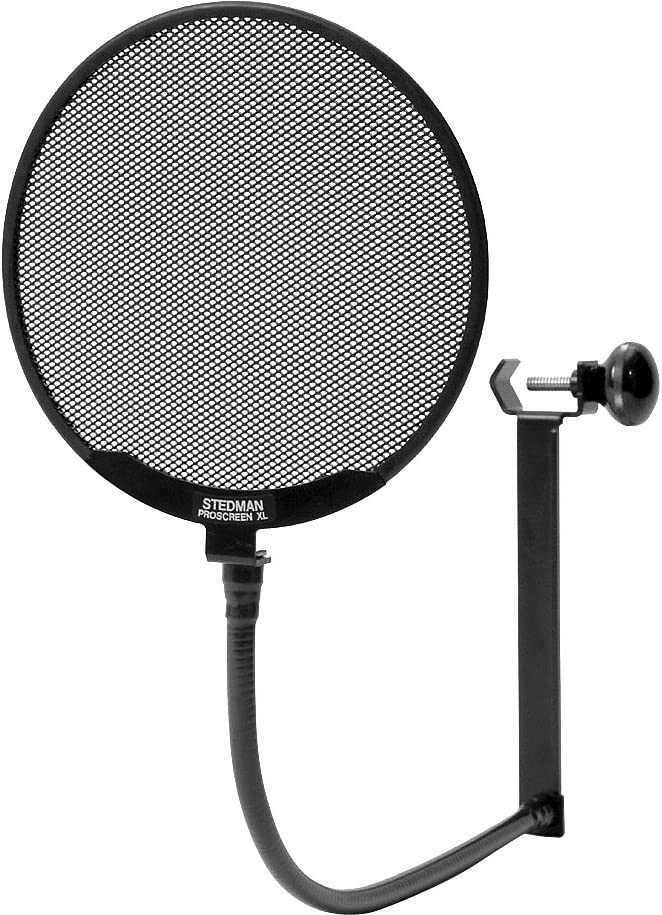
Stedman Proscreen XL Pop Filter
This is a bada$$ (metal) pop filter. It’s expensive but it works very well.
Audio Interface and Preamp
In order to use an XLR condenser microphone with your computer in your home voiceover studio, you will need an audio interface.
What does an audio interface do?
An audio interface converts the analog audio signal from your mic into a digital signal that your computer can understand.
Confusing? Okay…
Imagine you’re speaking to someone who speaks a foreign language.
Neither of you can understand each other. Sounds like gibberish, right?
The audio interface acts as your interpreter.
Now you and the other person (your computer and your microphone) can become best friends and backpack through Europe together. YAY!!!
Is an audio interface the same as a preamp?
Glad you asked. The short answer is no, they are different. I’ll explain how and why it matters shortly.
So, what does a preamp do?
The basic role of a preamp is to boost low-level (quiet) audio signals into higher (louder), more usable audio signals.
Do I have to buy both a preamp AND an audio interface with my XLR condenser microphone?
This is where you’re in luck, my friend!
The vast majority of audio interfaces on the market today ALSO have built-in preamps.
2 birds with 1 stone, baby. (No animals were harmed in the writing of this post)
While there are absolutely different levels of quality in audio interfaces and preamps, you do not need to break the bank to get a rock-solid combo unit.
From what I’ve learned on my own and from pro audio engineers I trust, once you get to a certain level of preamp/interface, it becomes exceedingly difficult to notice the differences (unless you’re a seasoned audio engineer in a very specific, high-end audio listening environment).
And guess what?
Most of our clients aren’t seasoned audio engineers listening to our audio in high-end studios, and even if they are, they don’t expect every voice talent to deliver Lamborghinian quality (yes, that’s my own made-up word).
A rock-solid Honda Accord-level piece of equipment can reliably get the job done for years and years.
Here are some combo preamp/interface units I recommend:
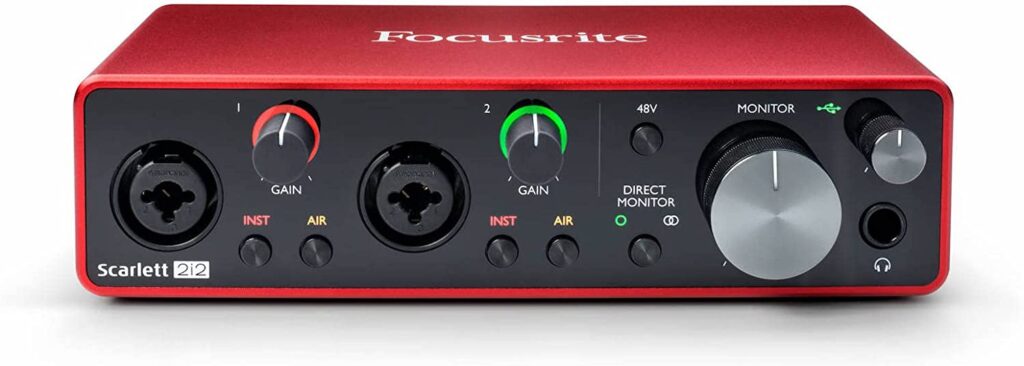
Focusrite Scarlett 2i2
This is the preamp/interface unit I’ve used for YEARS. Works like an absolute champ and is very affordable. I recommend going for the duo over the solo. Having two inputs can be really useful at times.
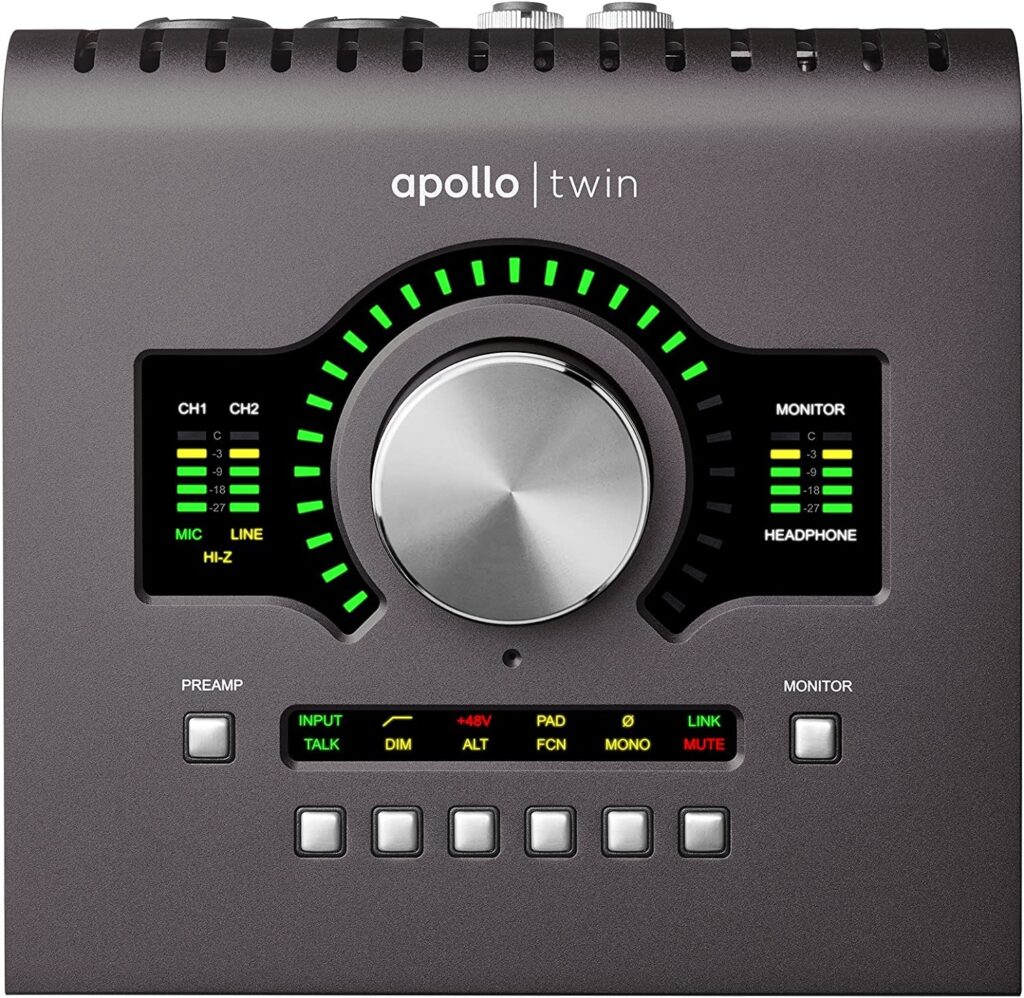
Universal Audio Apollo Twin
This is a step up from the Focusrite. Pricey but highly recommended. Note: you need a Thunderbolt port for this to work.
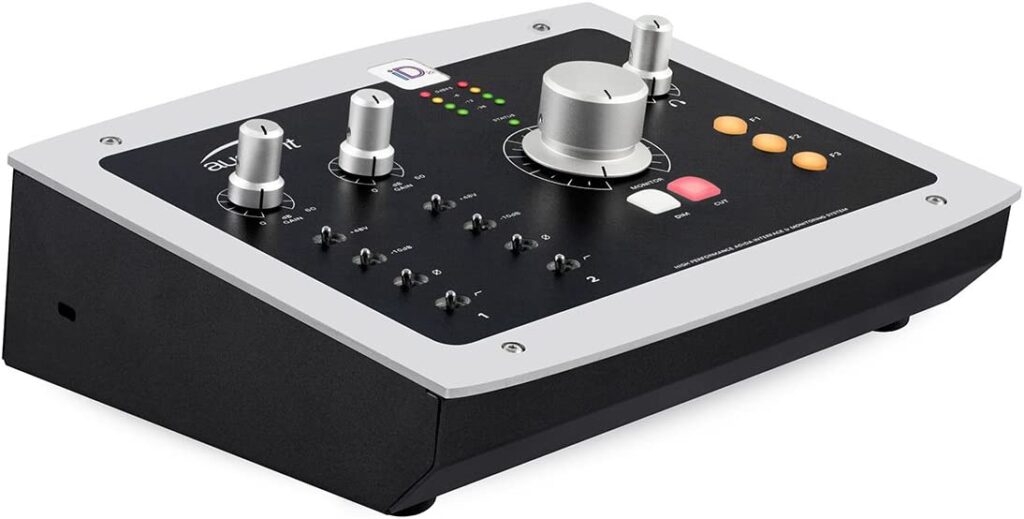
Audient ID22
This is a step up from the Focusrite. I’ve only heard excellent things. Note: Apple devices only.
Digital Audio Workstation (DAW)
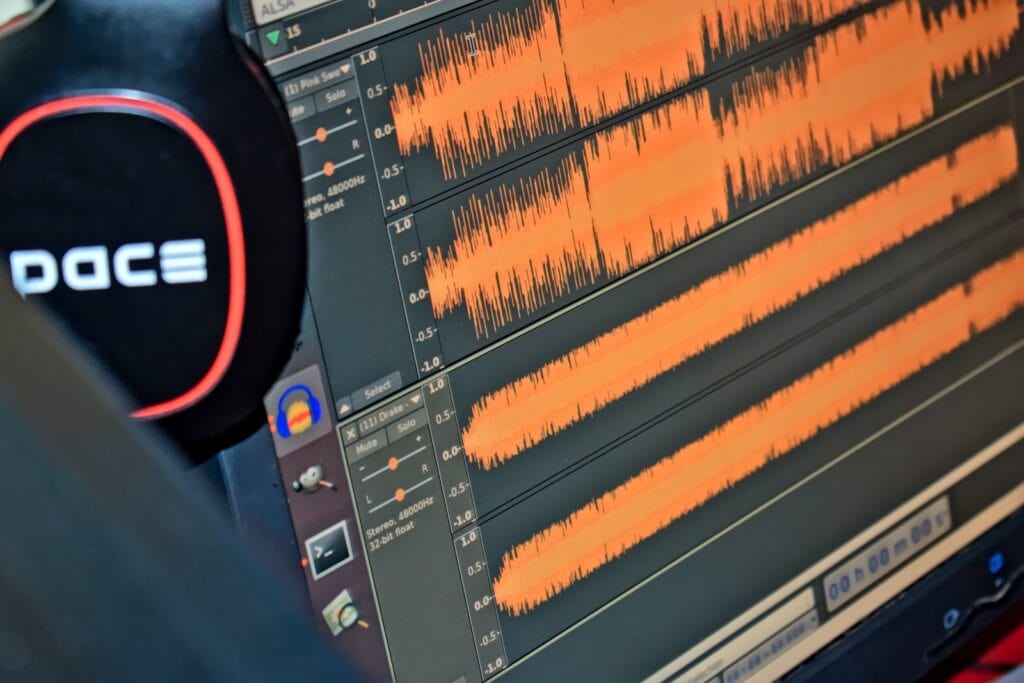
A digital audio workstation (DAW) is a piece of software that allows you to record, edit and mix audio files on your computer (and even on tablets or phones). Musicians and producers often use DAWs for creating music tracks, but pro voice talent use them for editing voiceover recordings.
If you are planning on doing voiceover work professionally in your home voiceover studio, it’s important that you know how to use a DAW to record and edit your audio files.
I won’t go into it here but stay tuned!
Not all DAW’s are created equal.
Each offers its own advantages and disadvantages for the user. Some DAW’s are overkill (Pro Tools) while others don’t do enough (Garage Band).
If you’re brand new to audio editing/DAW’s, I recommend starting with Audacity. It’s free, easy-to-use, and there are tons of tutorials on YouTube for how to get the most out of it.
If you’re a little more experienced than that, then I highly recommend Adobe Audition or Reaper. Both are paid (Audition is more expensive), and they both offer a lot of customization and strength.
DAW Options
Here’s a list of preferred DAW options that many pro voiceover talent use. Some are free, some require a monthly or yearly subscription, and some require a one-time license fee. Each provides its own strengths and weaknesses which I won’t fully go into here.
Adobe Audition CC ($$$ – it’s what I use and I LOVE it)
Reaper ($ – it’s probably what I would use if I weren’t using AA)
Twisted Wave ($ – mostly Apple based and a powerful little DAW)
Audacity (FREE and a good starting point for beginners)
Garage Band (FREE on Apple products but icky)
Remote Recording Software
Once you start booking VO work, you’ll likely run into a situation where a client will want to listen in to your home VO studio and direct your session live (while you record). Little scary, right? Don’t worry.
There are several common ways to make this happen in VO:
- Zoom/Skype/Teams – In this post-COVID world, you’re likely very familiar with these options. They work really well for simply connecting you to your client in real time. The audio quality is pretty decent, too.
- Source-Connect ($$$)– Source-Connect allows you to send and receive audio in real-time like the previous options, but this is HD audio. It sounds like you’re in the same room together and allows your client to edit your audio immediately. It’s honestly incredible technology. There are a few different service levels to choose from but Source-Connect Standard is the go-to for most professional talent and studios and is what I’ve used for the past several years. NOTE: You absolutely DO NOT and SHOULD NOT invest in this technology until you have one or more clients needing it on a consistent basis because it is quite expensive and not 100% necessary right away.
- ipDTL – This is a browser-based realtime audio connection, allowing you to have remote recording sessions (and send HQ audio) with practically anyone with an internet connection. It seems to require at least a small monthly fee to use but I’ve heard excellent reviews.
- ISDN (Integrated Services Digital Network) – I need to mention ISDN because it used to be the big dog in realtime VO sessions. Some older studios still use it (including many radio stations), but it is now VERY expensive and nearly impossible to get for a normal consumer. Source-Connect has all but replaced this option.
- What other remote recording software or service am I missing here? Let me know in the comments.
Studio Headphones
If you want to do professional voice over work from home, you need to be able to edit the audio efficiently and accurately. Studio headphones allow you to do that.
Do I need studio monitors for voiceover?
You don’t need top-of-the-line professional studio monitors to edit your VO audio.
They are nice to have if you have the budget; however, your physical editing space will affect how your audio sounds coming out of studio monitors which may hinder your ability to accurately edit your audio. So, even if you do have the budget to buy them, they can sometimes hurt more than they can help.
Over time, you likely should invest in some.
My long-time VO colleague and friend Paul Strikwerda swears by THESE.
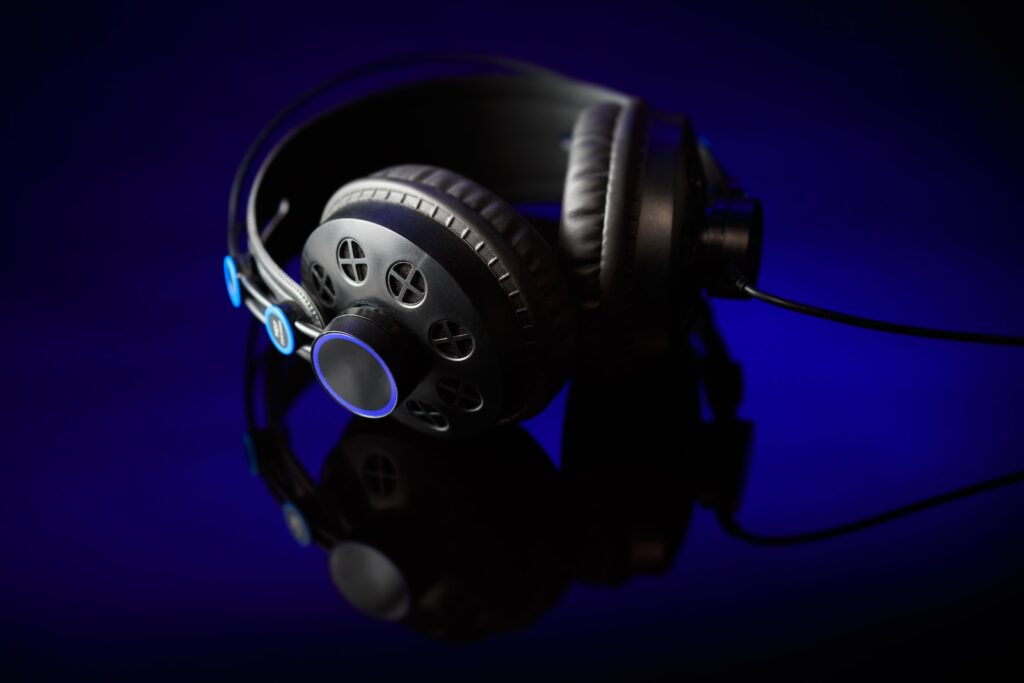
Do I need studio headphones for voiceover?
YES. You DO need a decent pair of headphones that will give you a relatively accurate and clean sound profile so you can edit your voice over recordings as effectively as possible.
You could use your headphones to monitor your recording in real-time like many pro voice talent do, but that is not my personal preference. In my experience, this can often cause the novice voice actor to focus more on how their voice sounds than on how their actual performance sounds.
You WILL need headphones for live, directed, remote recording sessions (via Zoom, Source Connect, etc.), so that’s also something to keep in mind. The quality of your headphones in that situation doesn’t matter as much unless you’re editing audio in real-time during a session.
Headphone Audio Accuracy
What does that mean?
Well, it can be complicated.
To make it easy, some headphones are mixed to make music sound good for casual listening.
Other headphones are simply made to block out external noise so the actual quality of the audio isn’t of high importance to the manufacturer.
You want headphones that give you a relatively accurate reflection of how your VO studio recordings ACTUALLY sound so you can edit them as accurately as possible so they can sound good across multiple devices.
A lot of “accurates” in that sentence, but accuracy really matters. A lot.
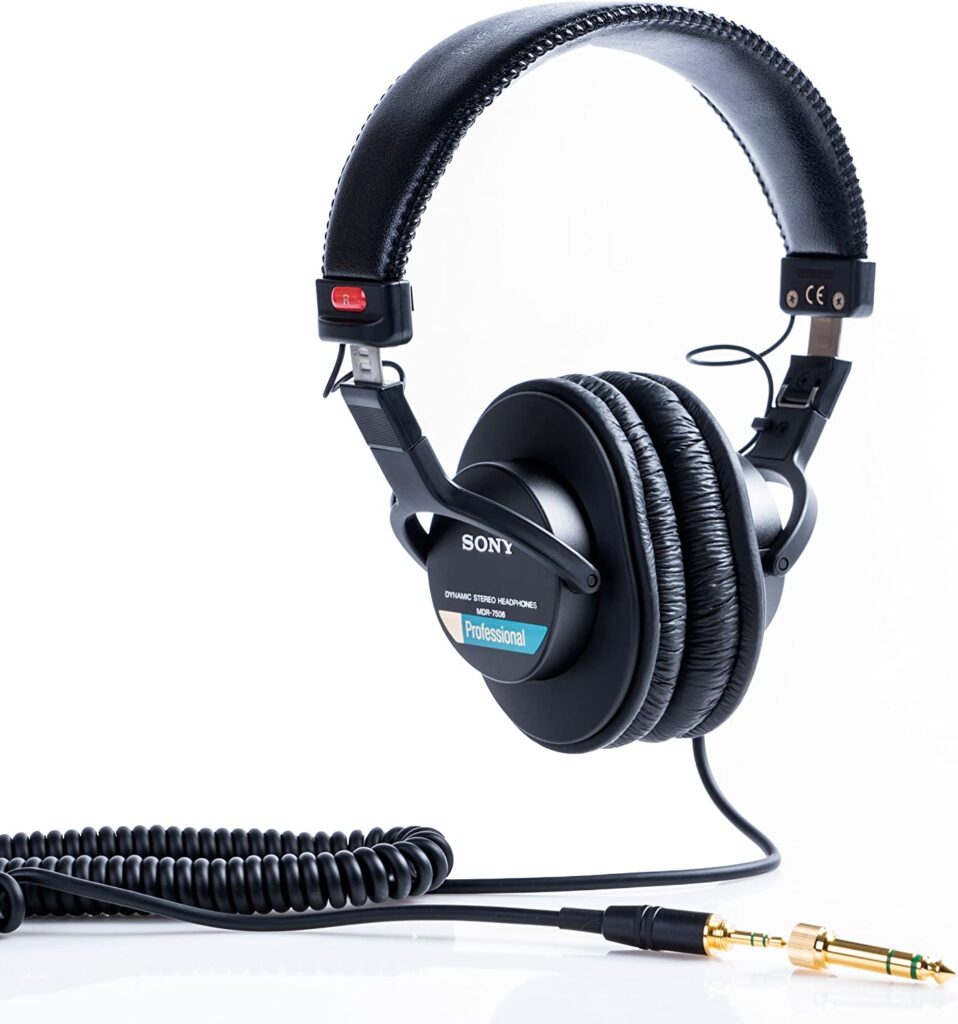
Here are some accurate headphones I recommend for editing and monitoring your VO:
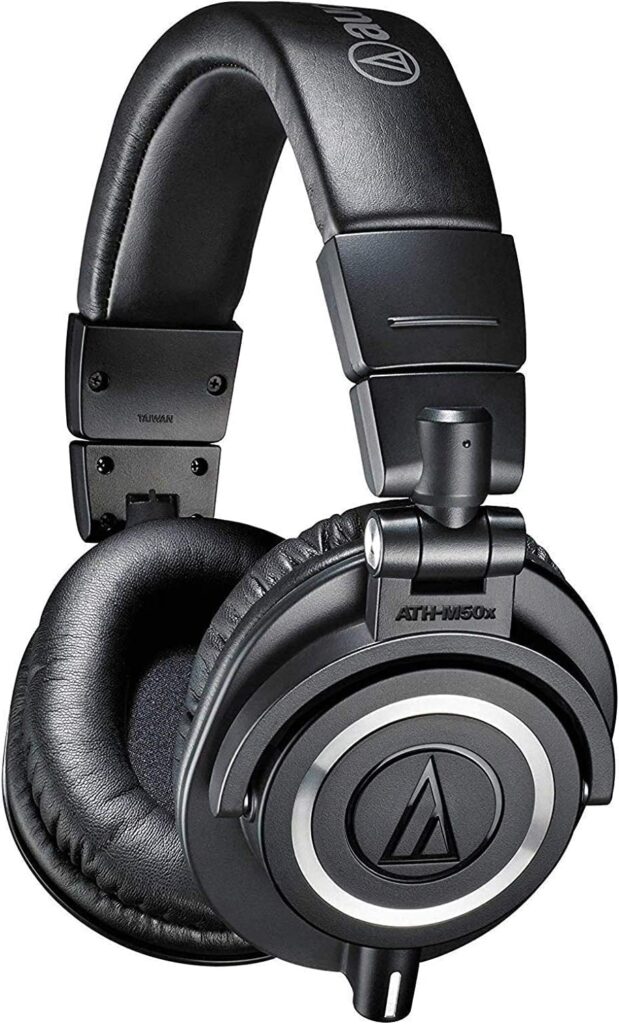
Audio-Technica ATH-M50x Headphones
This is the pair I use now. Absolutely love them.
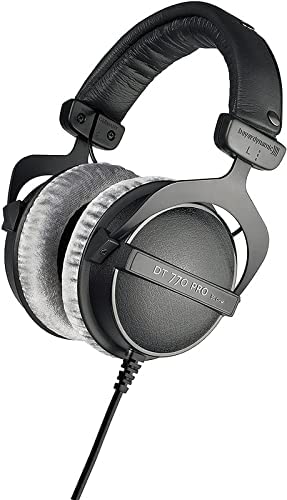
beyerdynamic DT 770 PRO Headphones
I know several audio engineers who swear by these headphones, including George Whittam.
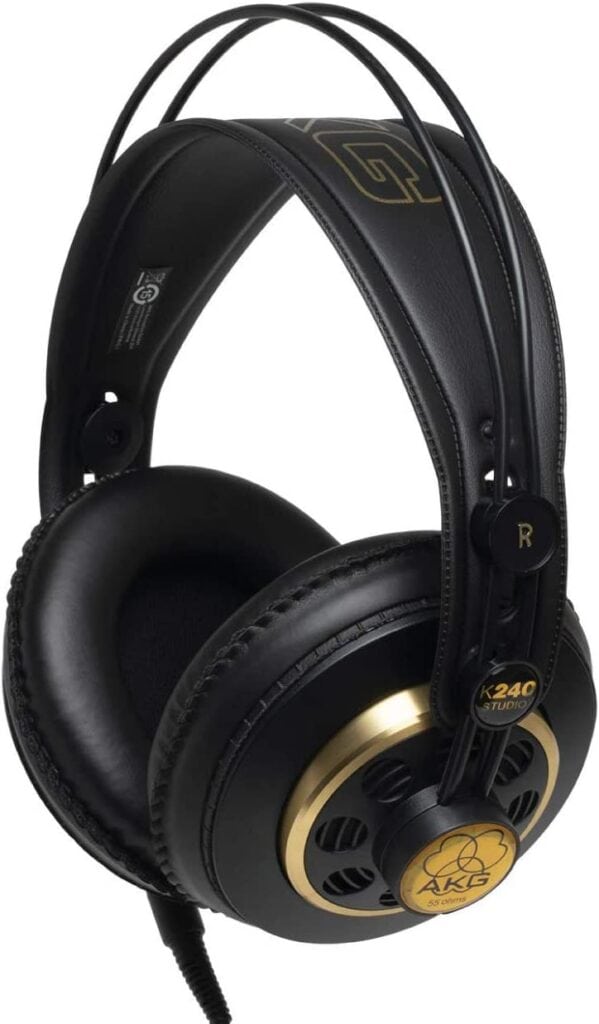
AKG Pro Audio K240
I don’t have any experience with these but I’ve heard some really positive things.
Conclusion
There’s no one-size-fits-all magic bullet for a professional home voiceover recording studio, but if you check off the boxes for each section above, you’ll be well on your way.
To recap, here are the essentials you will likely need for your first pro VO studio:
You now know what goes into a pro VO studio but how do you build a successful voiceover career? Look no further. Jumpstart your VO career with the FREE Voice Acting Career Launch Kit Below.